
Everyone whose role can read company data can view this tab, but the
edit affordances (the Edit button, logo actions, inbox management, and the
sender allow-list controls) are only enabled for roles with the Edit
company settings permission, and the File Categories card for roles with
Configure file categories. Of the standard roles, only Admin holds
either — see Roles & permissions.
Company information
The Company Information card shows your Company Name and Company Legal Name. Select Edit, change either field, and Save (or Cancel to discard). Both fields are limited to 255 characters, and the company name can’t be blank.
The Company Information card in edit mode.
App logo
The App Logo card customizes the logo displayed at the top left of the application — the branding your team sees in the sidebar. There are two images:- Full — the wide logo shown when the sidebar is expanded.
- Icon — the small square mark shown when the sidebar is collapsed.
The App Logo card, with a preview and actions for the full logo and the icon.
When you pick an image you crop it in place — drag and zoom until the preview
looks right, then confirm. Changes take effect in the sidebar after you
refresh the page.
Inboxes
Inboxes are company email addresses for automated document intake: files emailed to an inbox are parsed into that inbox’s flow for your company. This is the email side of creating submissions — for example, a broker can email an application PDF straight to your submission inbox, and it shows up as an import on the Submissions page. Inboxes are grouped by flow — Submission and Policy — and each flow can have any number of addresses. Every address has the formname@inbox.aiinsurance.io.
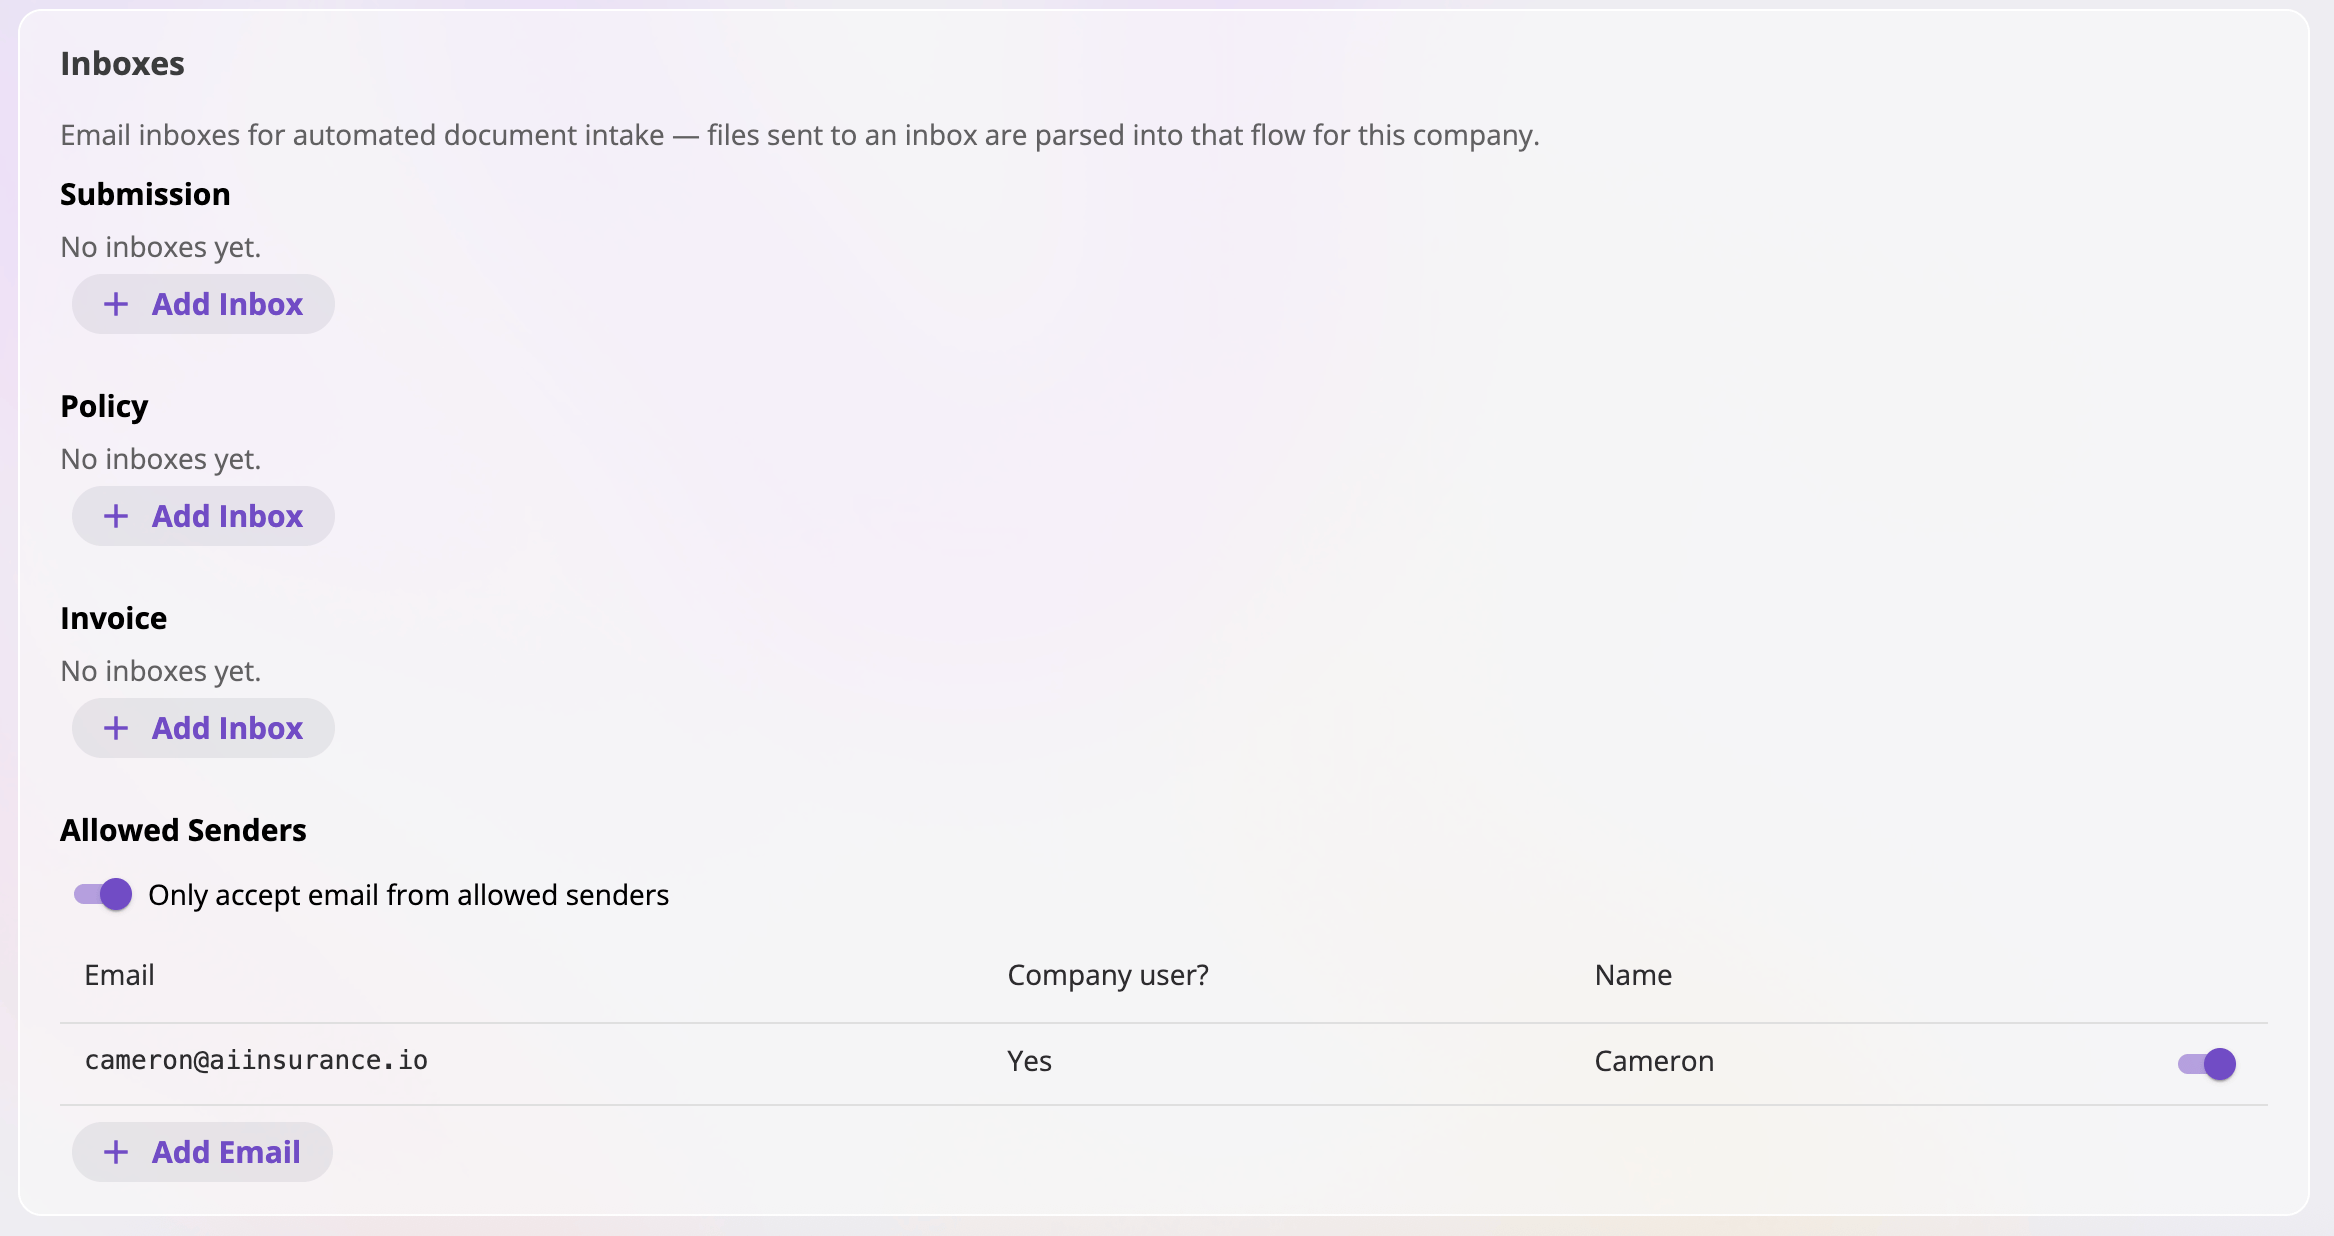
The Inboxes card: addresses grouped by flow, with copy, rename, and delete per address.
When adding or renaming, you pick the name — the part before the
@. A
name must be lowercase letters and numbers, optionally separated by single
dots, dashes, or underscores (up to 64 characters), and it must be unique
across the whole platform — if a name is taken, pick another. The dialog
shows the full resulting address as you type.
Allowed senders
The Allowed Senders section, at the bottom of the Inboxes card, controls who may email your inboxes.
The sender allow-list: an enforcement toggle over one table of company users and extra addresses.
- The Only accept email from allowed senders switch turns enforcement on or off. With it off, your inboxes accept email from anyone. With it on, only the senders in the table below are accepted.
- When enforcement is on, the table lists every sender in one place:
- Company users are allowed by default; use the per-row switch to turn an individual user’s access off or back on.
- Additional emails — outside senders like a broker — are added with the Add Email button and removed with the trash icon.
Blocked senders
Separately from the allow-list, a Blocked Senders table appears whenever any address has been explicitly blocked. Blocking happens from the imports list on the Submissions page — when an email from an unrecognized sender arrives, you can block that sender there. Email from a blocked address is dropped completely — nothing is stored and nobody is notified — regardless of the allow-list switch. This section is where you review blocks and un-block an address (the trash icon on its row).File categories
The File Categories card defines the labels your team can put on files. Categories are configured per entity type — a Policy file is offered the Policy list, a claim (Event) file the Event list, and so on — and the lists are the single source of truth: everywhere a file can be categorized, the picker offers exactly the categories configured here (plus No category), never free text. That keeps your vocabulary consistent — no moreCorespondence
next to Correspondence.
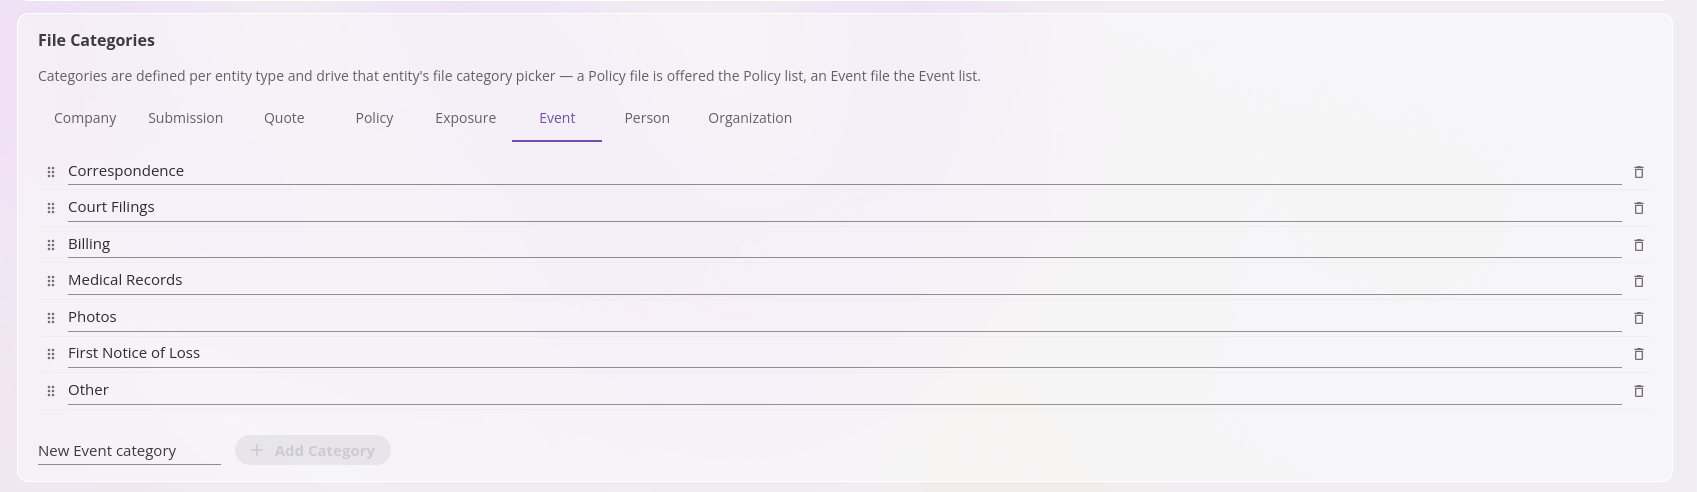
The File Categories card — one list per entity type, here the Event list.
A retired (or renamed-away) label doesn’t disappear from your data: files that
carry it keep it, the category filter on file tables still lists it so
those files stay findable, and saving such a file unchanged keeps working. To
move a file off an old label for good, just pick a different category — once
no live files carry it, it stops appearing anywhere.
Renaming is also how you merge two categories into one. Rename the
unwanted one (say, a misspelling) to the exact name you want to keep, and
every file carrying it is relabelled in one step. If the name you’re
renaming to is already on the list, the rename is rejected as a duplicate
— delete that entry first (its files keep their labels), then rename. Either
way, all the files end up under a single name.
The configured lists govern the API
the same way: a
category set through the API must name a configured
category for that entity type (matched case-insensitively; the configured
spelling is what’s stored), or the request is rejected with a 400 listing
the valid categories.Other admin tabs
The admin area has more tabs than this page covers, each documented separately (tabs you don’t have permission for simply don’t appear):- Users — invite users, assign roles, revoke access.
- Forms — your form template library and the document editor.
- Files — company-level files: the files that belong to the company as a whole rather than to a particular quote, policy, or claim. These now live on the sidebar’s Files page, under the Company Files tab, in the same files interface used on every entity — see Files & notes.
- Financials — invoice types, line items, approval authority, and export settings.
- API Keys — programmatic access to your data.
- Rating Run Logs — per-quote rating run diagnostics.