
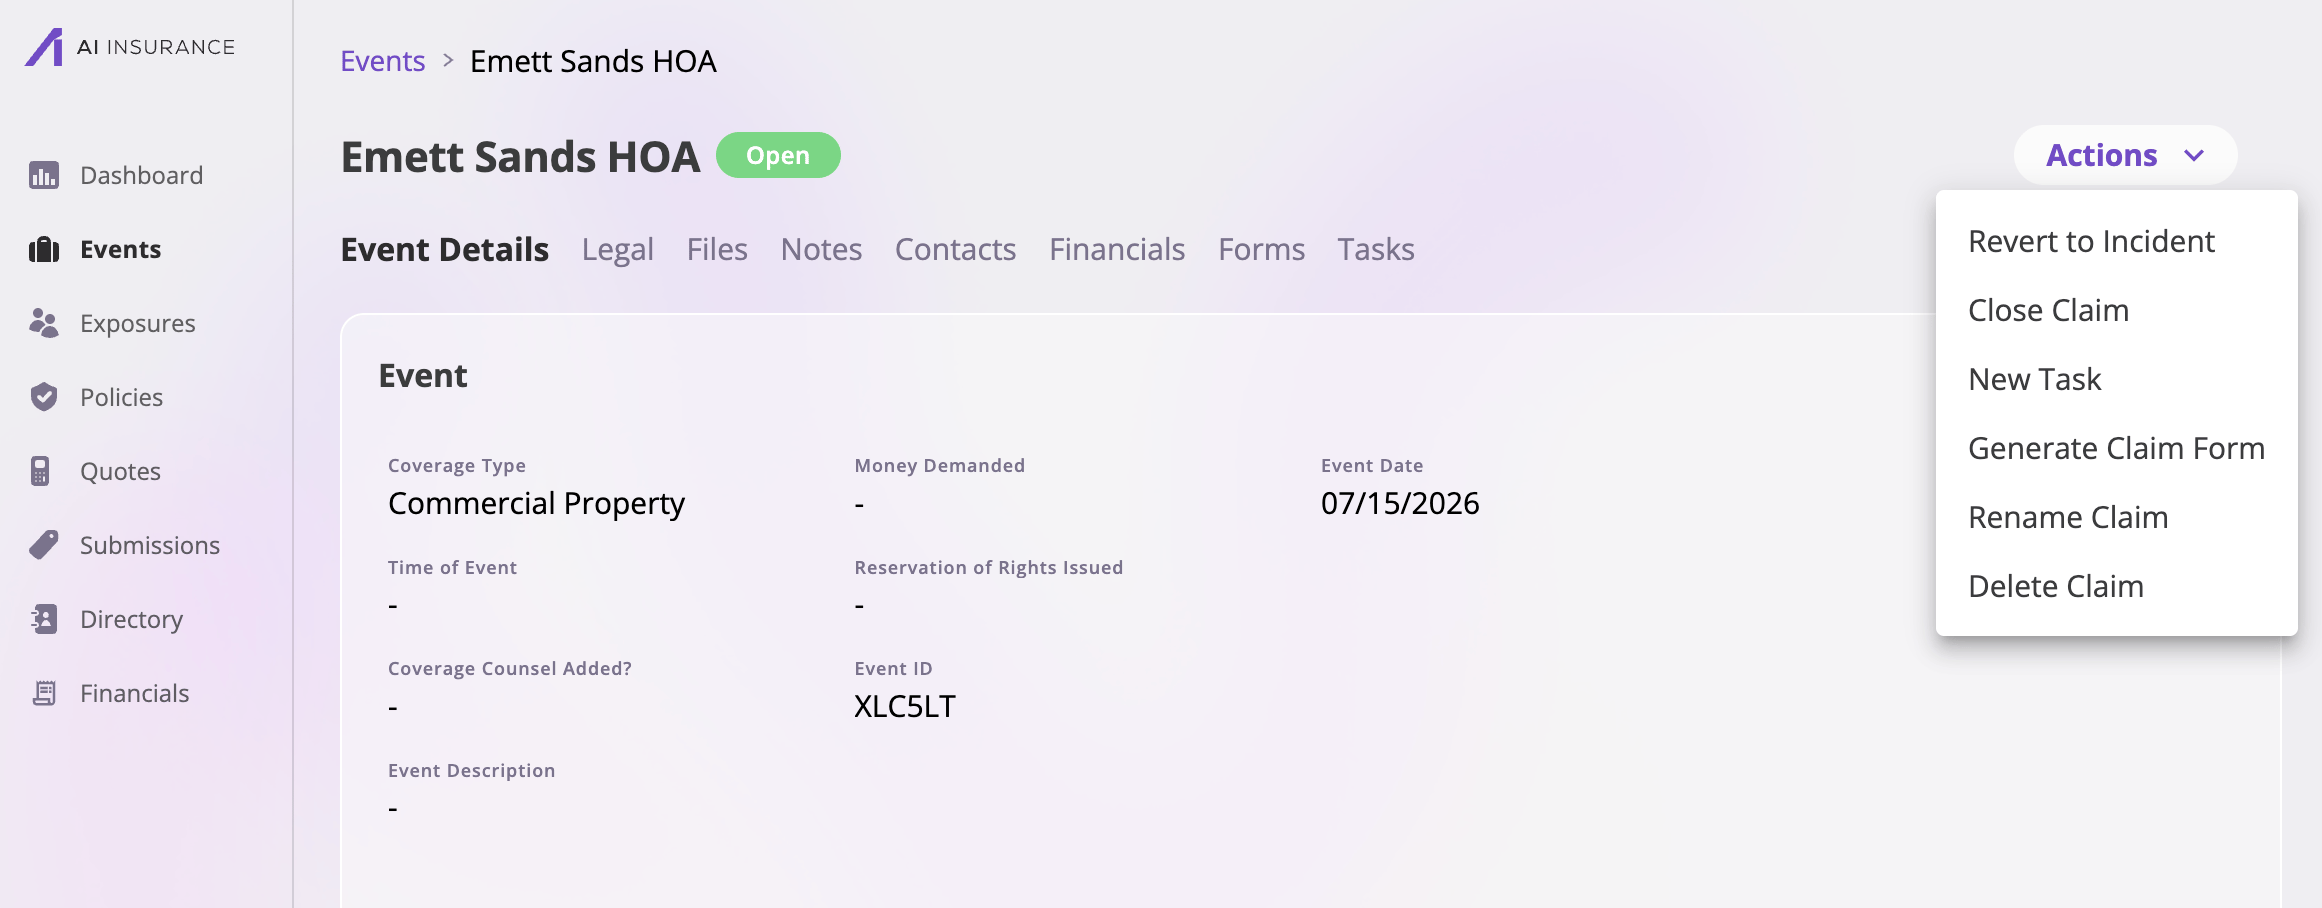
The Actions menu on an open claim.
The menu adapts to the event you’re looking at. A claim shows the
claim-flavored actions (Close Claim, Rename Claim, …) and an incident
shows the incident equivalents. Options also follow the event’s status —
an open event offers Close, a closed one offers Re-open — and your
permissions: actions your role isn’t allowed to perform simply don’t
appear in the menu.
The menu at a glance
Close an event
To close a claim, open the Actions menu at the top right of the claim and select Close Claim (on an incident, the same action is labeled Close Incident). The action is available while the event is Open. You’ll be asked for a Closed Date, pre-filled with today’s date — adjust it if the event was actually resolved on a different day. Selecting Close Event sets the event’s status to Closed and records the closed date on the event.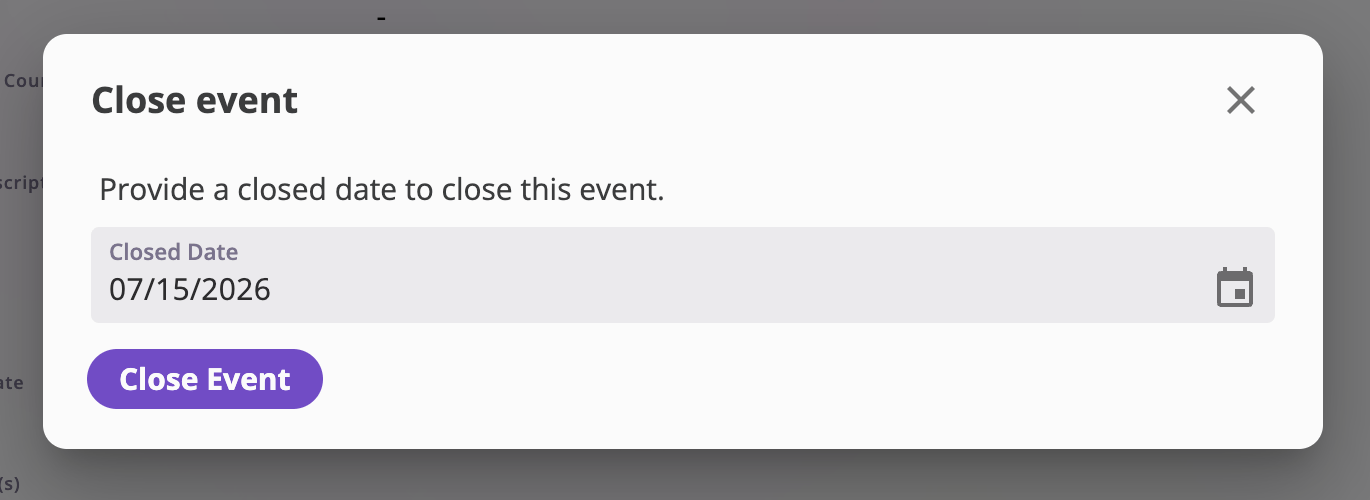
Closing asks for a Closed Date, pre-filled with today.
Re-open an event
On a Closed event, the close action is replaced by Re-open Claim / Re-open Incident. After you confirm, the event’s status returns to Open and its closed date is cleared.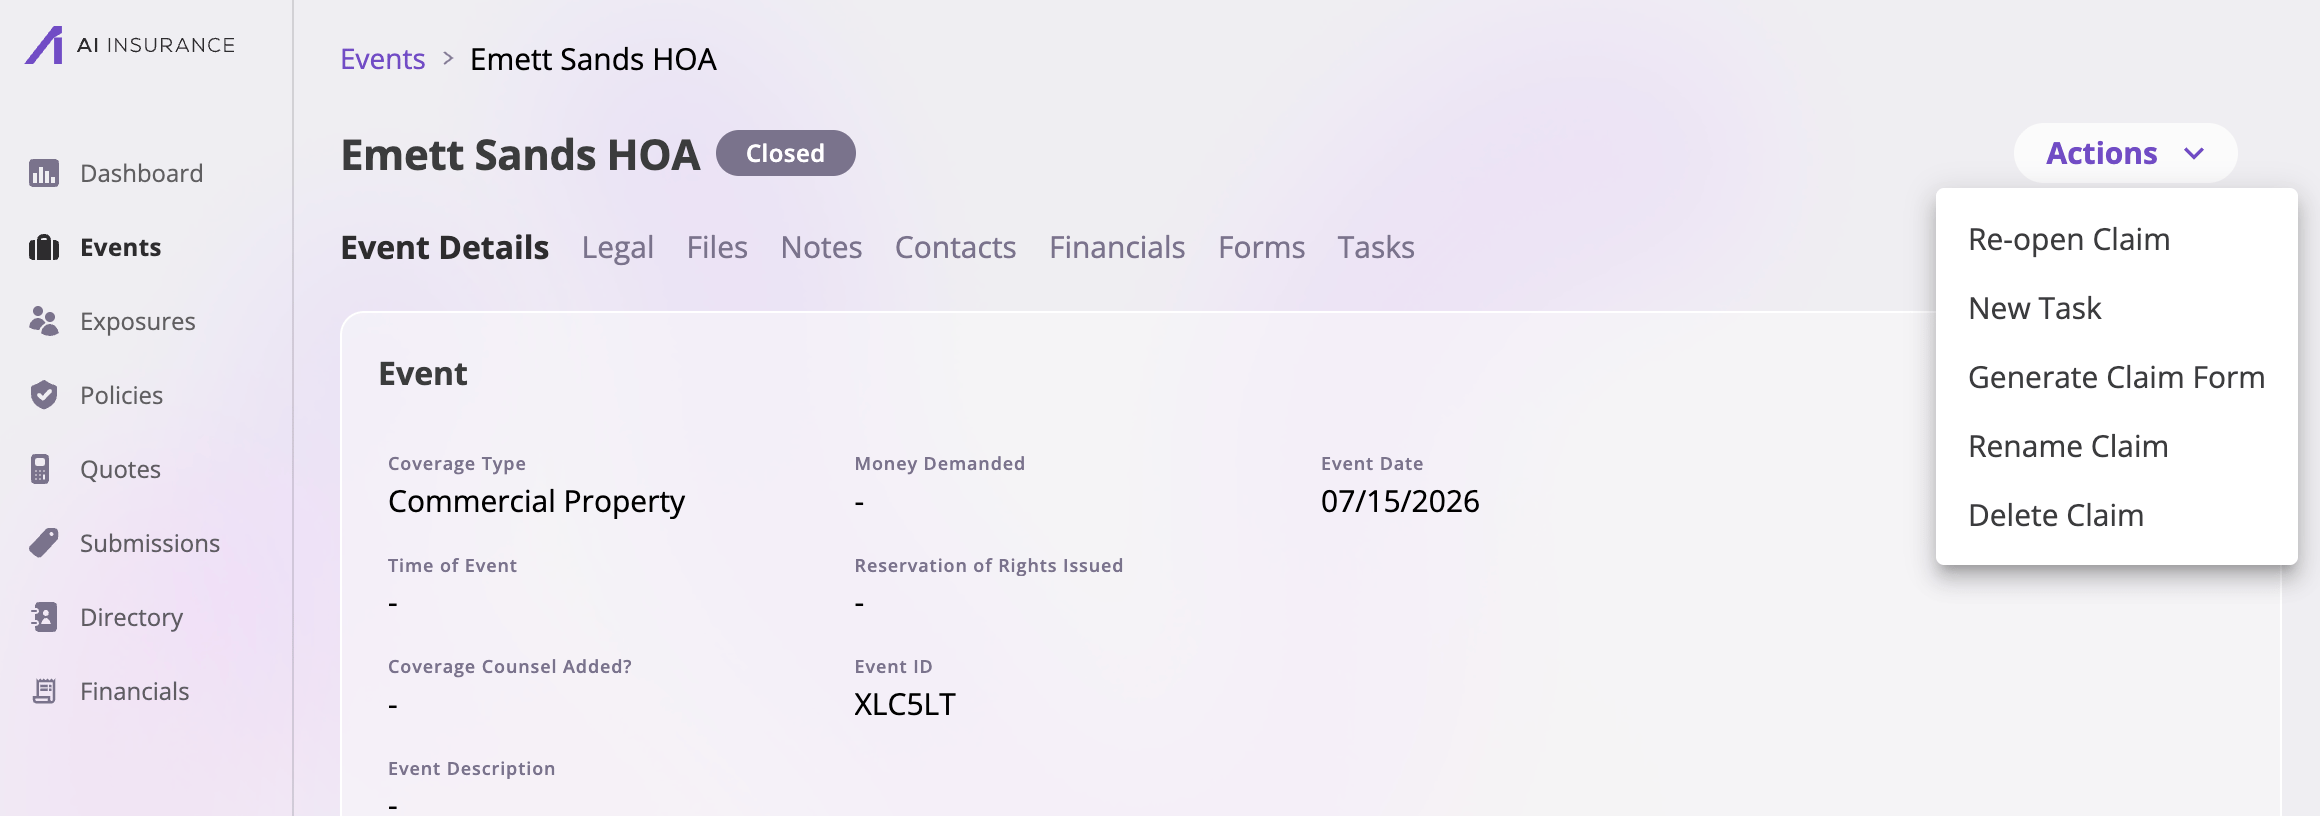
On a closed claim, the menu offers Re-open Claim instead of Close Claim.
Convert between claim and incident
An event’s type — claim or incident — isn’t fixed. Two actions move an event between the types while keeping everything else about it (fields, files, notes, contacts, tasks) intact:- Create Claim From Incident — on an incident, promotes it to a claim. Available whether the incident is open or closed.
- Revert to Incident — on an open claim, turns it back into an incident. Use this when something was recorded as a claim prematurely.
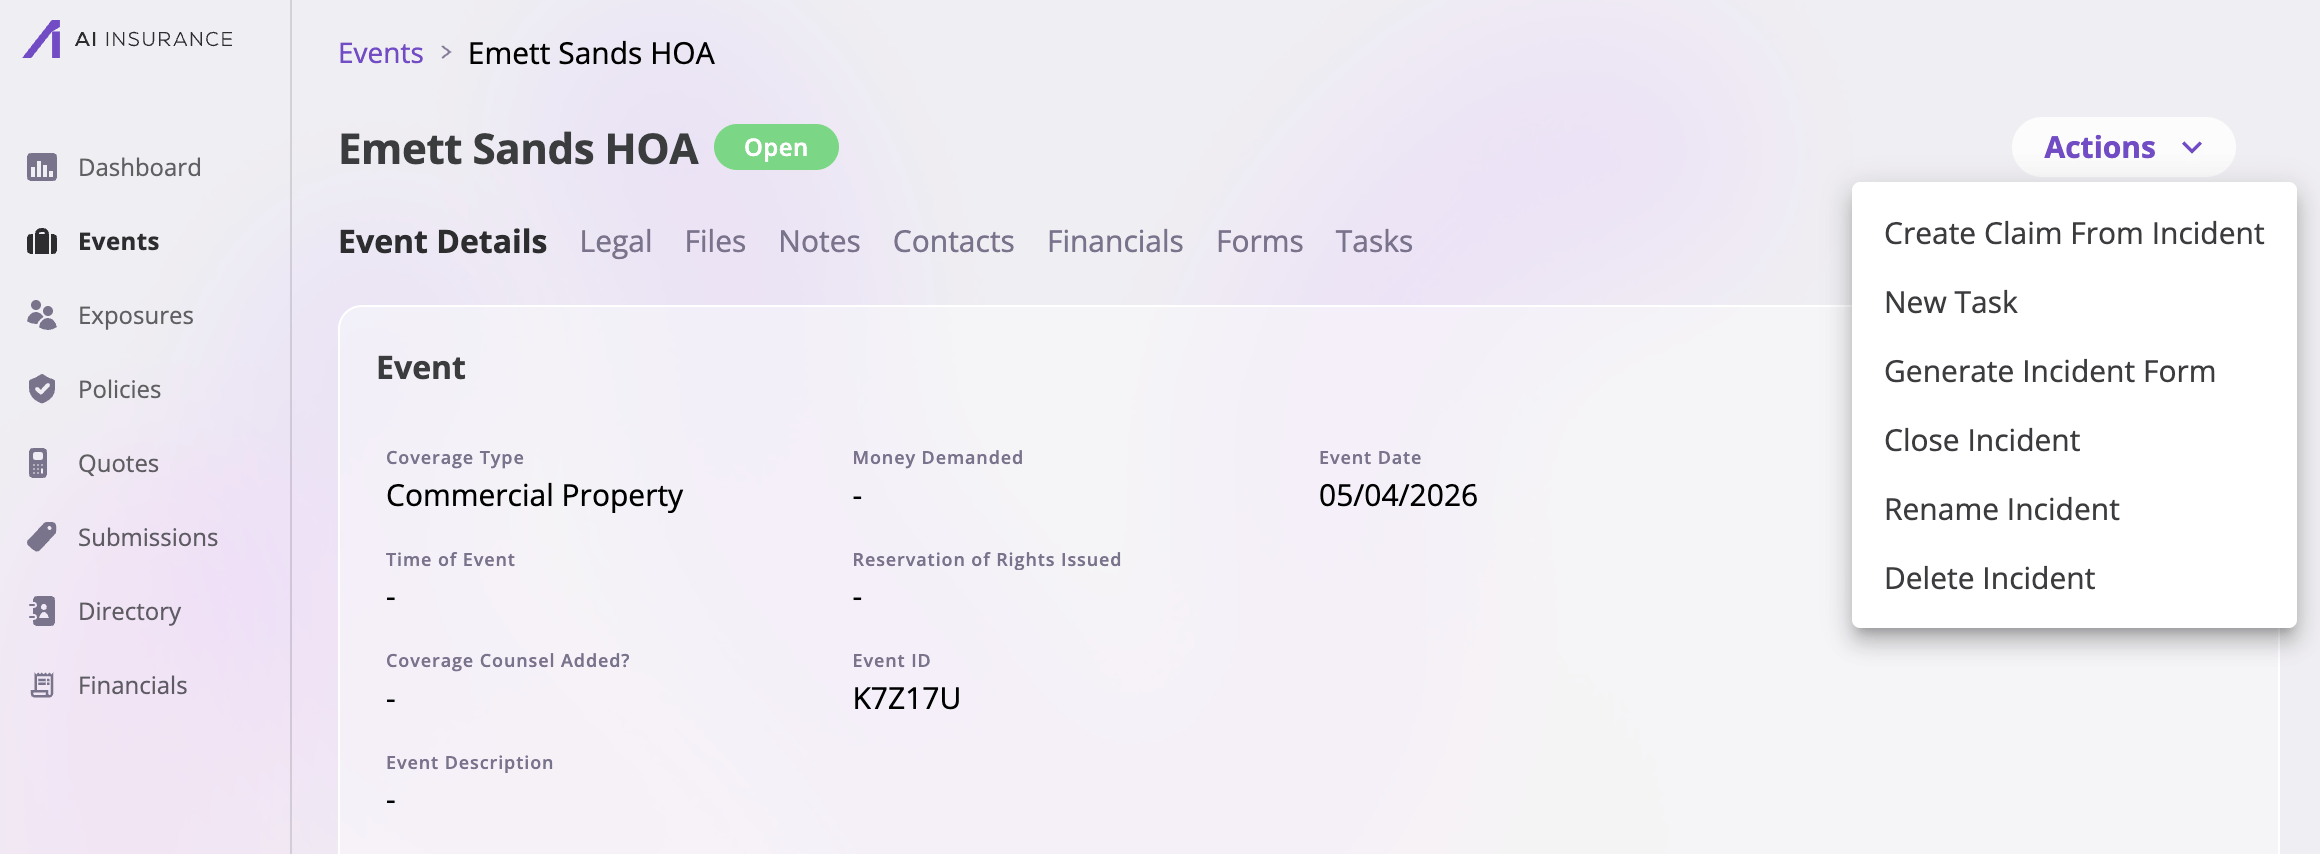
An incident's Actions menu — the same menu, with incident-flavored options and Create Claim From Incident.
Create a task
New Task opens the task dialog with the task already linked to this event. Give the task a name (and optionally a description, a due date and time, and one or more assignees — Assign to myself is one click) and select Create. Use it to track follow-up work — a document to chase, an adjuster to call — without leaving the event. The created task shows up on the event’s Tasks tab as well as in the assignee’s task list.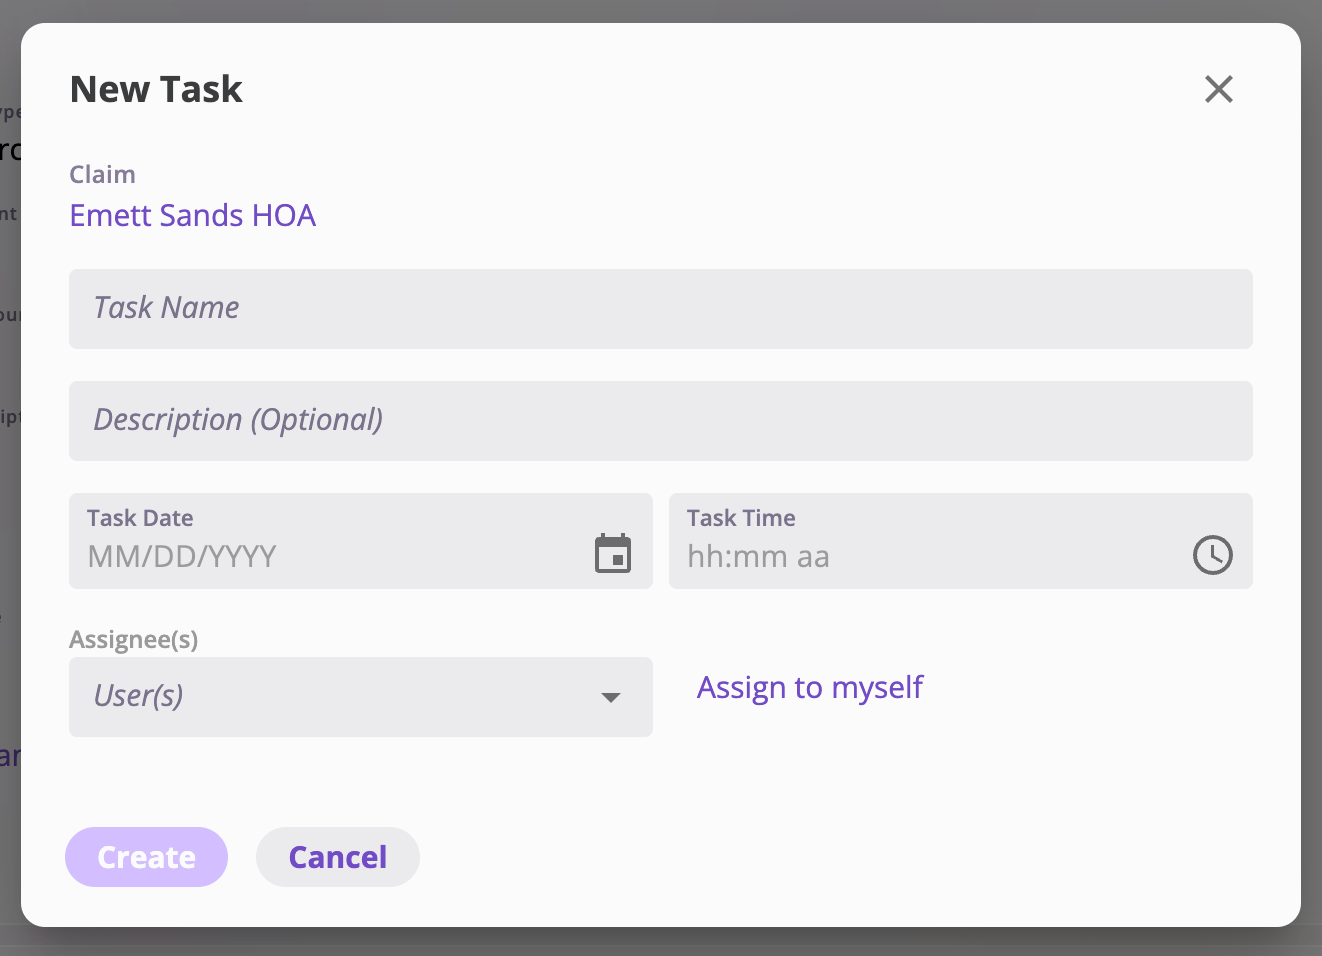
The New Task dialog, pre-linked to the claim it was opened from.
Generate a form
Generate Claim Form (or Generate Incident Form) generates a document for this event from one of your company’s claim/incident form templates. Pick the form you want from the dropdown and select Generate — you’re taken to the generated form, where its fields are filled from the event’s data and you can review and finish it. Generated forms live on the event’s Forms tab.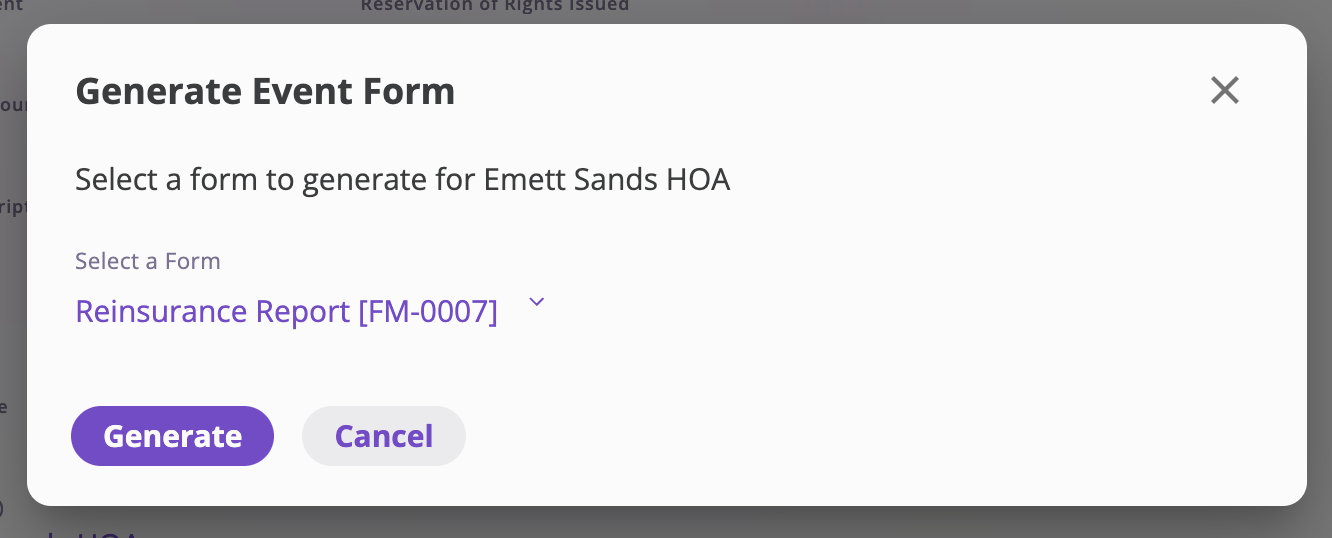
Pick a form template, then Generate.
The dropdown lists the event-category form templates uploaded for your
company. If your company has no claim/incident form templates configured,
there’s nothing to pick. See
Form templates for how templates are managed.
Rename an event
The platform generates an event’s name for you from the exposures and claimant involved, and keeps it current: change the linked exposures or the claimant and the name follows on the next save. Rename Claim / Rename Incident lets you override that: enter the new name and select Rename. The name you set replaces the generated one everywhere the event is shown, and it stays put when the exposures or claimant change later.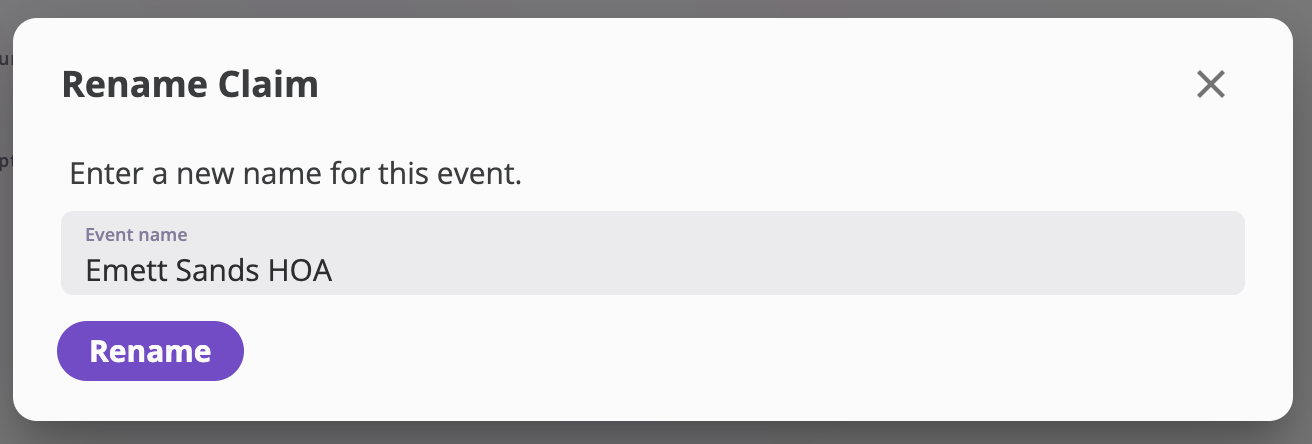
Renaming replaces the platform-generated event name.