
The Submissions list
Open Submissions in the sidebar. Each row is a submission; selecting a row opens its detail page.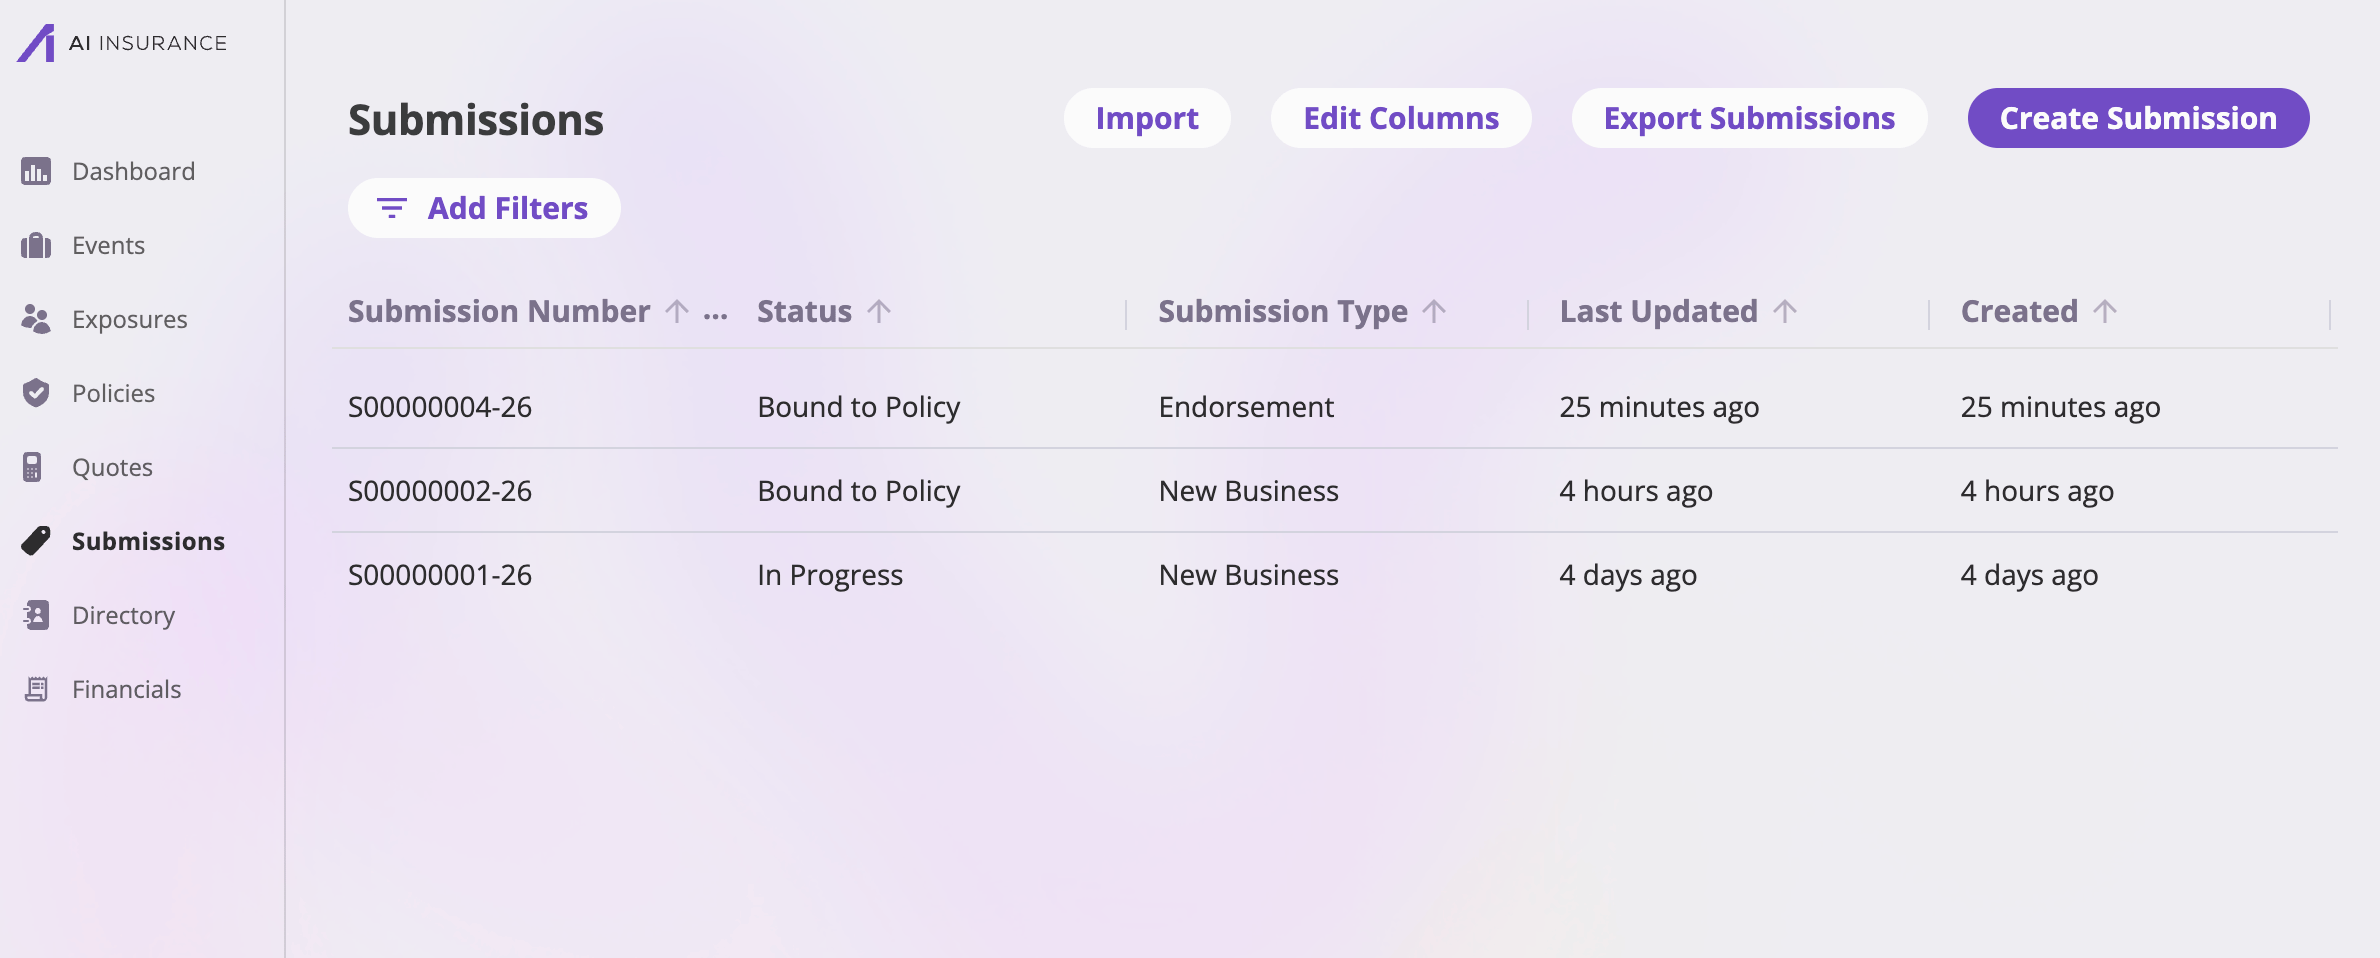
The Submissions list with its toolbar: Import, Edit Columns, Export Submissions, and Create Submission.
Toolbar
Columns
Column headers follow your company’s configured field labels. By default the list shows Submission Number (always pinned as the first column), Submission Name, Status, Type, Last Updated, and Created. Edit Columns can add any other configured submission field, plus the system columns Created, Last Updated, Created By, and Updated By.- Sorting — click a sortable header to sort. Submission Number, Name, Status, and Type are sortable, as are Created and Last Updated (the default sort is Last Updated, newest first).
- Filters — Add Filters shows the filters configured for the Submissions list, with inputs chosen by each definition (text, dates, numbers, option choices, or users). Active filters show as pills you can edit or remove.
- Pagination — the footer pages through results at 25, 50, 100, or 200 rows per page.
Submission statuses
Every submission carries a status. The status keys are fixed by the platform; the labels shown in the app are configurable per company. The defaults:
The status field is system-managed rather than directly editable on the page;
how (and whether) a submission advances through these statuses beyond the
initial In Progress depends on how your company is configured and on
API integrations.
The submission detail page
The detail page is headed by the submission’s name (falling back to its number), with the Actions menu at the top right and the tab bar beneath.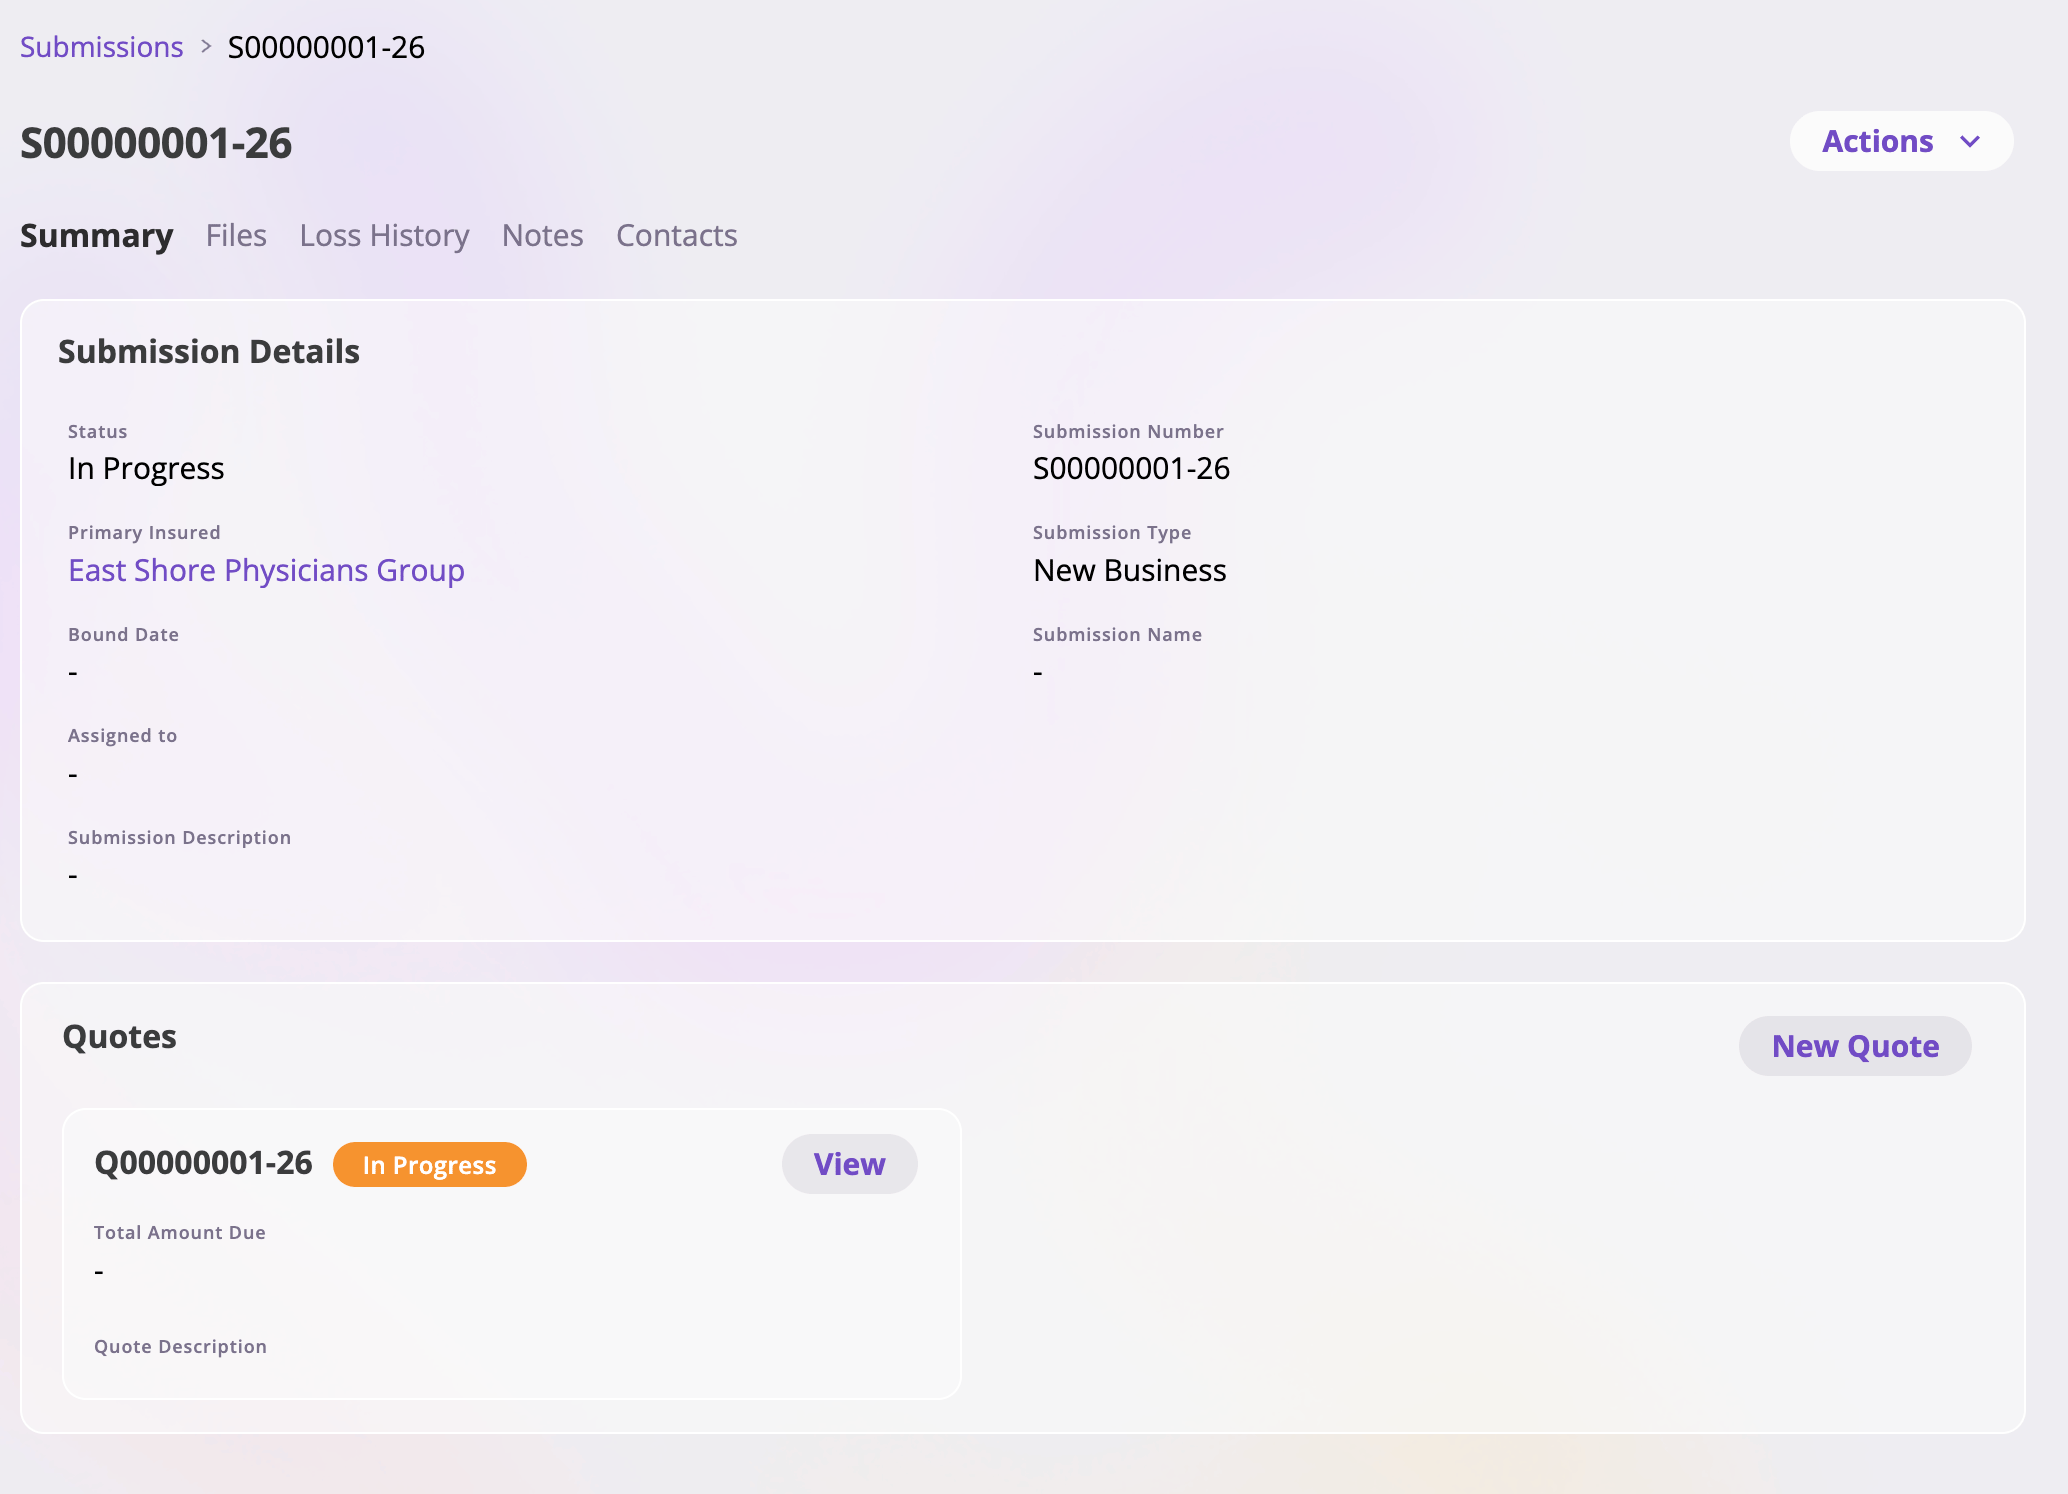
A submission's detail page: name, Actions menu, and the Summary, Files, Loss History, Notes, and Contacts tabs.
Tabs
The Quotes card
The Summary tab’s Quotes card lists every quote on the submission. Each quote shows its number, a status tag, its Total Amount Due, and its Quote Description, with a View button that opens the quote. New Quote (shown when your role can create quotes) starts another quote on this submission in the quote wizard:- If the submission already has a quote that isn’t cancelled or archived, the new quote is a copy of the most recent one — same kind of quote, pre-filled from it.
- Otherwise it starts a fresh new-business quote seeded from the submission’s details.
Clearance warnings
When a submission’s primary insured name matches another active submission in your company (a case-insensitive match, ignoring extra whitespace), a Clearance Warning banner appears at the top of the detail page — one per match — linking to the potential duplicate so you can compare before proceeding. Renewal submissions never show clearance warnings, since a renewal is expected to share its prior term’s insured.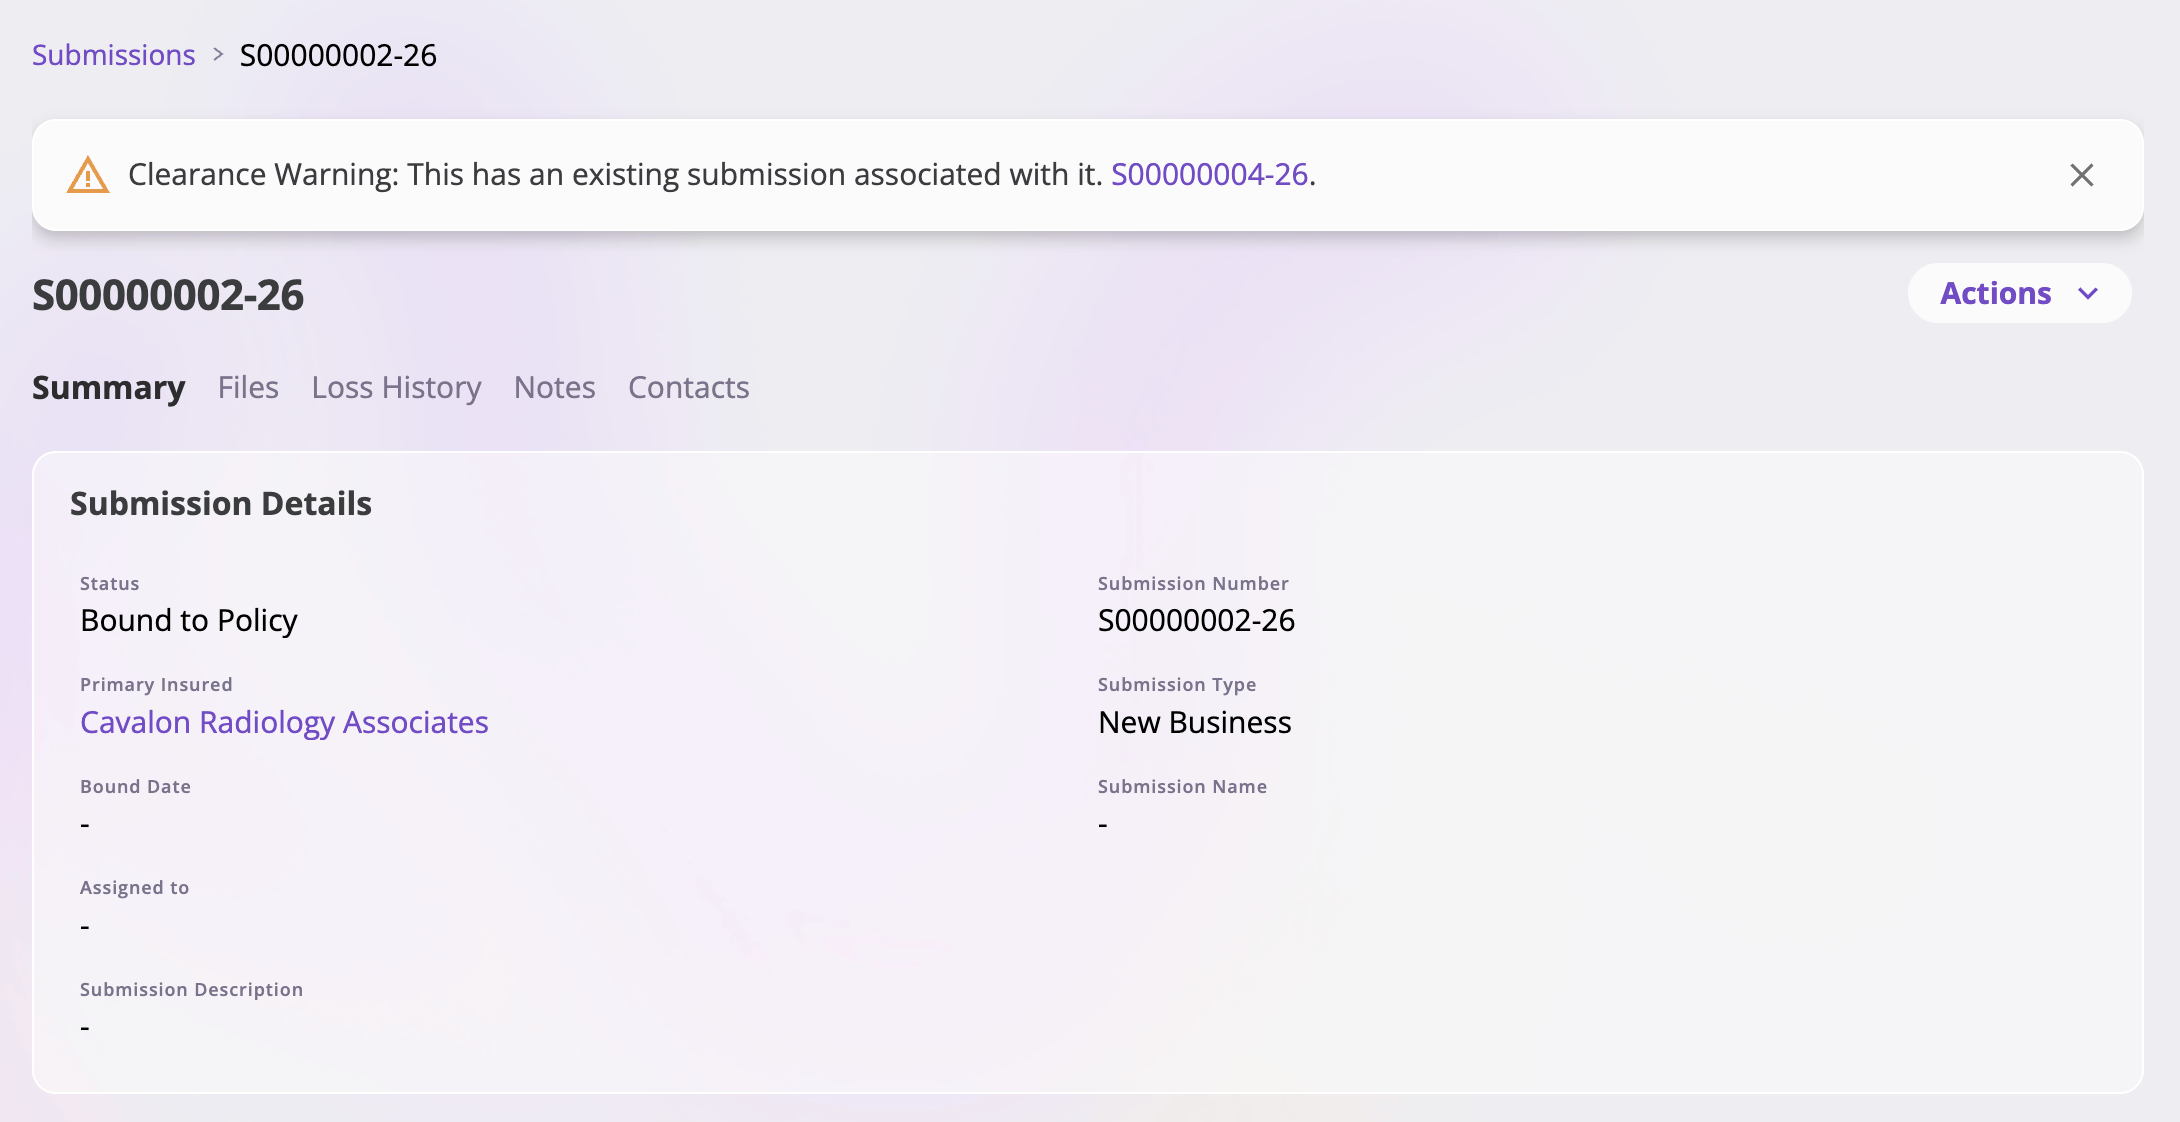
A clearance warning banner linking to the matching submission.
Actions
The Actions menu at the top right of the detail page collects the submission-level actions. Options your role isn’t allowed to perform don’t appear — if none are allowed, the menu itself is hidden.The menu at a glance
Delete a submission
Delete Submission asks for confirmation, permanently deletes the submission, and returns you to the Submissions list. The option is disabled while the submission still has quotes (the menu shows “Delete every quote on this submission before it can be deleted.”) — delete the quotes first from each quote’s own Actions menu.Imports and parse-run history
The Import button on the Submissions list opens the Import page, where dropped documents are parsed by AI into submissions (or policies). The page — available to roles that can upload files — has two parts: a dropzone on top and the Imports table below it.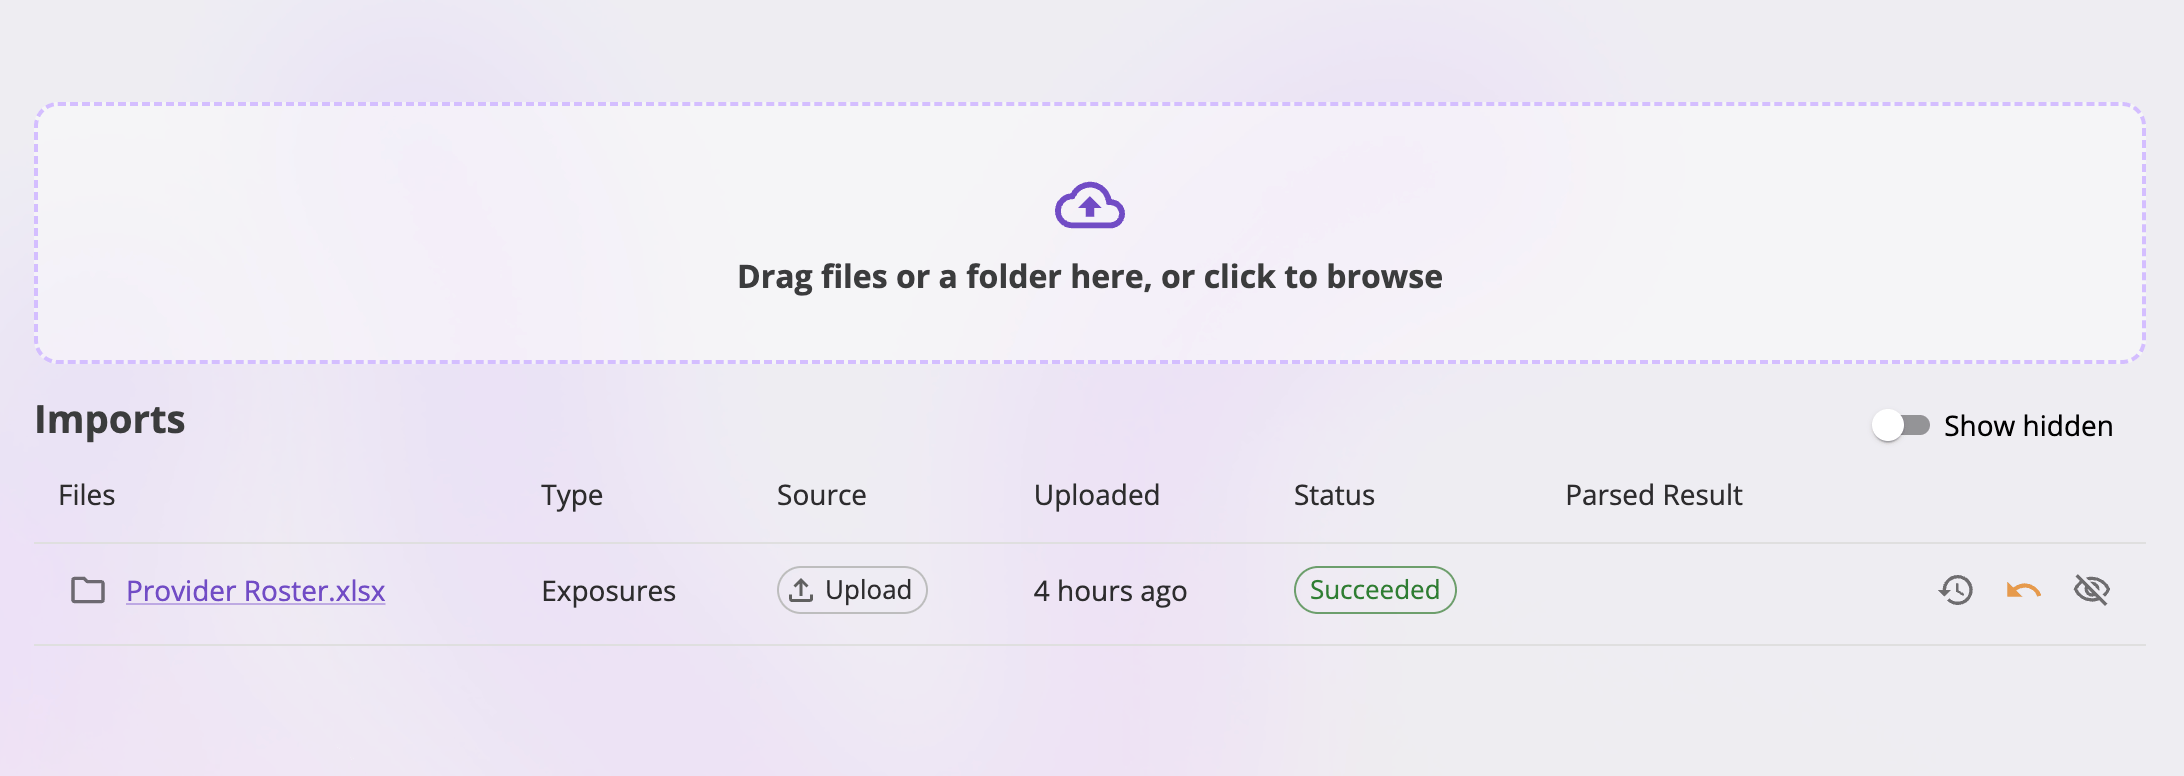
The Import page: the dropzone on top, and the Imports table listing every import with its type, source, status, and parsed result.
Uploading files
Drag files (or a whole folder) onto the dropzone, or click it to browse. As soon as you drop, a dialog asks what you’re importing — Submission or Policy — listing every dropped file so you can see exactly what the choice covers. Cancel abandons the drop; choosing a type uploads the files and adds one row to the Imports table (one row per drop, however many files it contained). Accepted file types are the ones the parser can read: PDF, PNG, JPEG, WebP, plain text, CSV, and Excel (.xlsx), up to 1 GB per file. Unsupported or oversized files are rejected up front — before anything uploads — with a message naming the file.Uploading and parsing are separate steps. The upload only stores the files
(they land in a dated import folder you can also reach in your company
files); nothing is parsed until you run the import.
The Imports table
One row per import, newest first — including imports from previous sessions and imports that arrived by email:
Trailing actions on each row:
Run statuses
Each parse run moves through these statuses:
The table refreshes automatically every few seconds while any run is live.
Run history
The history icon on any row opens Run history — every parse run of that import, newest first:
The run history dialog: one row per parse run, with status, timings, the extract, the parsed result, and the re-run menu.
A failed run’s error message appears in full directly under its row.
Re-running an import
The replay icon on a finished (succeeded or failed) run opens two choices:- Re-run from Extract — re-parses using that run’s already-extracted data, skipping re-reading the documents. Available once the run’s extract succeeded.
- Re-run from Start — re-extracts the documents and re-parses from scratch. Always available.
Email imports
Depending on how your company is configured, brokers can email applications straight to a company inbox — each such email becomes an import row with an Email source chip, and its first parse run starts automatically (the row shows Starting… with no action needed). See Creating submissions for the email workflow. An email from a sender your company hasn’t recognized is stored but not processed: the row shows a warning chip and a Needs sender review status. Users who can manage company settings get two actions on the row:- Recognize sender — adds the sender to your company’s allowed senders; their stored imports become runnable and future emails from them are processed automatically.
- Block sender — future emails from the address are dropped entirely (not stored, not shown, nobody notified). The stored import stays visible — hide it separately if you want it gone. Blocked senders can be unblocked later from your company’s inbox settings — see Company settings & inboxes.