
Access to the Directory follows your permissions: if your role can’t view
directory records, the Directory entry doesn’t appear in the sidebar, and the
create and delete actions described below only show for roles allowed to
perform them.
People and organizations
The Directory holds two kinds of record, shown as two tabs — People and Organizations:- A person is an individual — a broker, an attorney, a claimant, any named contact.
- An organization is a company or firm — a brokerage, a law firm, a vendor — that people can belong to. A person may be linked to at most one organization (a broker to their brokerage, an attorney to their firm).
Types
Both people and organizations carry a type (for example Attorney, Broker, Law Firm, Brokerage). The list of types — and the extra fields each type brings with it — is configured per company, so what you see depends on how your company is set up. Every record has a baseline set of fields (name, email, phone, …); the type then adds type-specific fields on top — an attorney surfaces attorney details, a law firm surfaces law-firm details.The list pages
Each Directory tab is a list page with the standard table tools: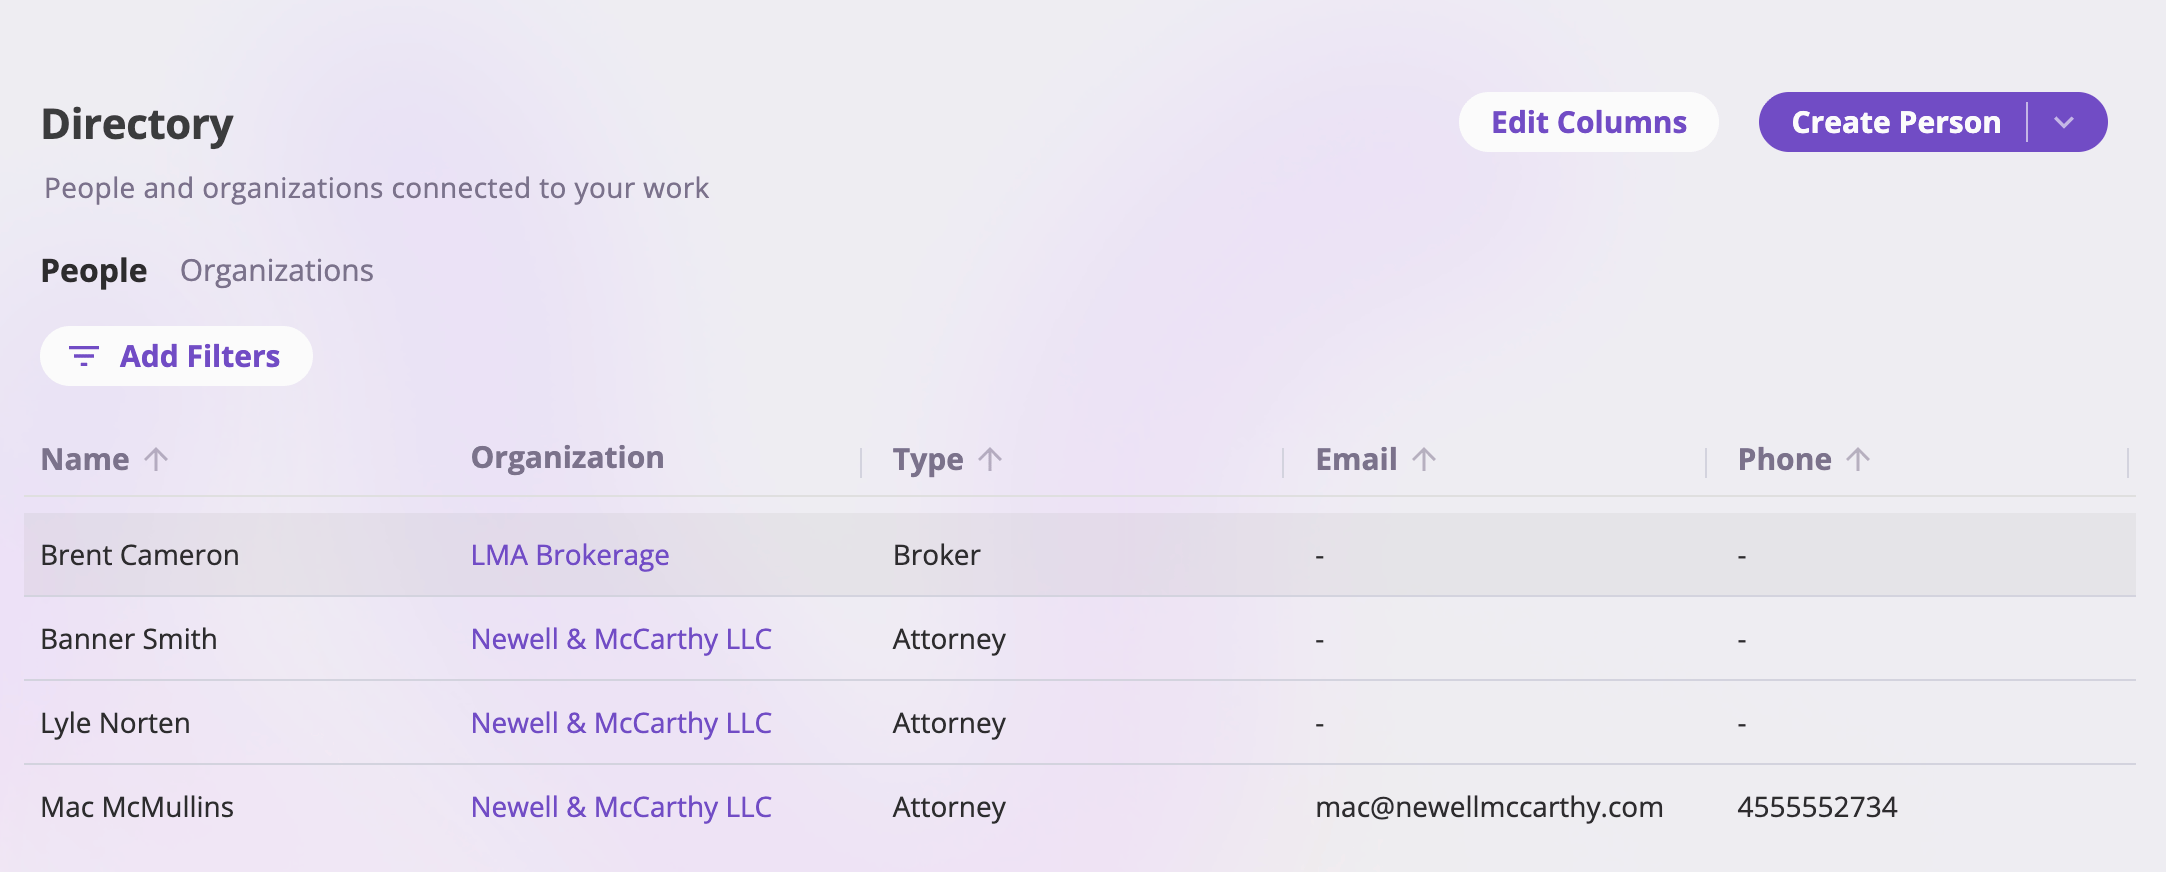
The Directory's People tab, with the Organizations tab, Edit Columns, filters, and the Create Person menu.
- Columns — People default to Name, Organization, Type, Email, Phone; Organizations default to Name, Type, Email, Phone, Address. Use Edit Columns to add, remove, and reorder columns (including any other configured fields and the system columns Created, Last Updated, and Created By). Drag column edges to resize, drag headers to reorder, and click a sortable header to sort.
- Filters — Add Filters opens the filter picker; active filters show as pills you can edit or remove. See Exports & saved views for how filtering works across list pages.
- Links — on the People tab, a person’s organization is a link straight to that organization’s record.
- Pagination — pick 25, 50, 100, or 200 rows per page at the bottom of the table.
Creating a directory record
At the top right of the list, the create button is labeled Create Person or Create Organization to match the tab you’re on. If your company has types configured, the button opens a menu of them — pick the type and you land on the create page with that type already filled in and locked.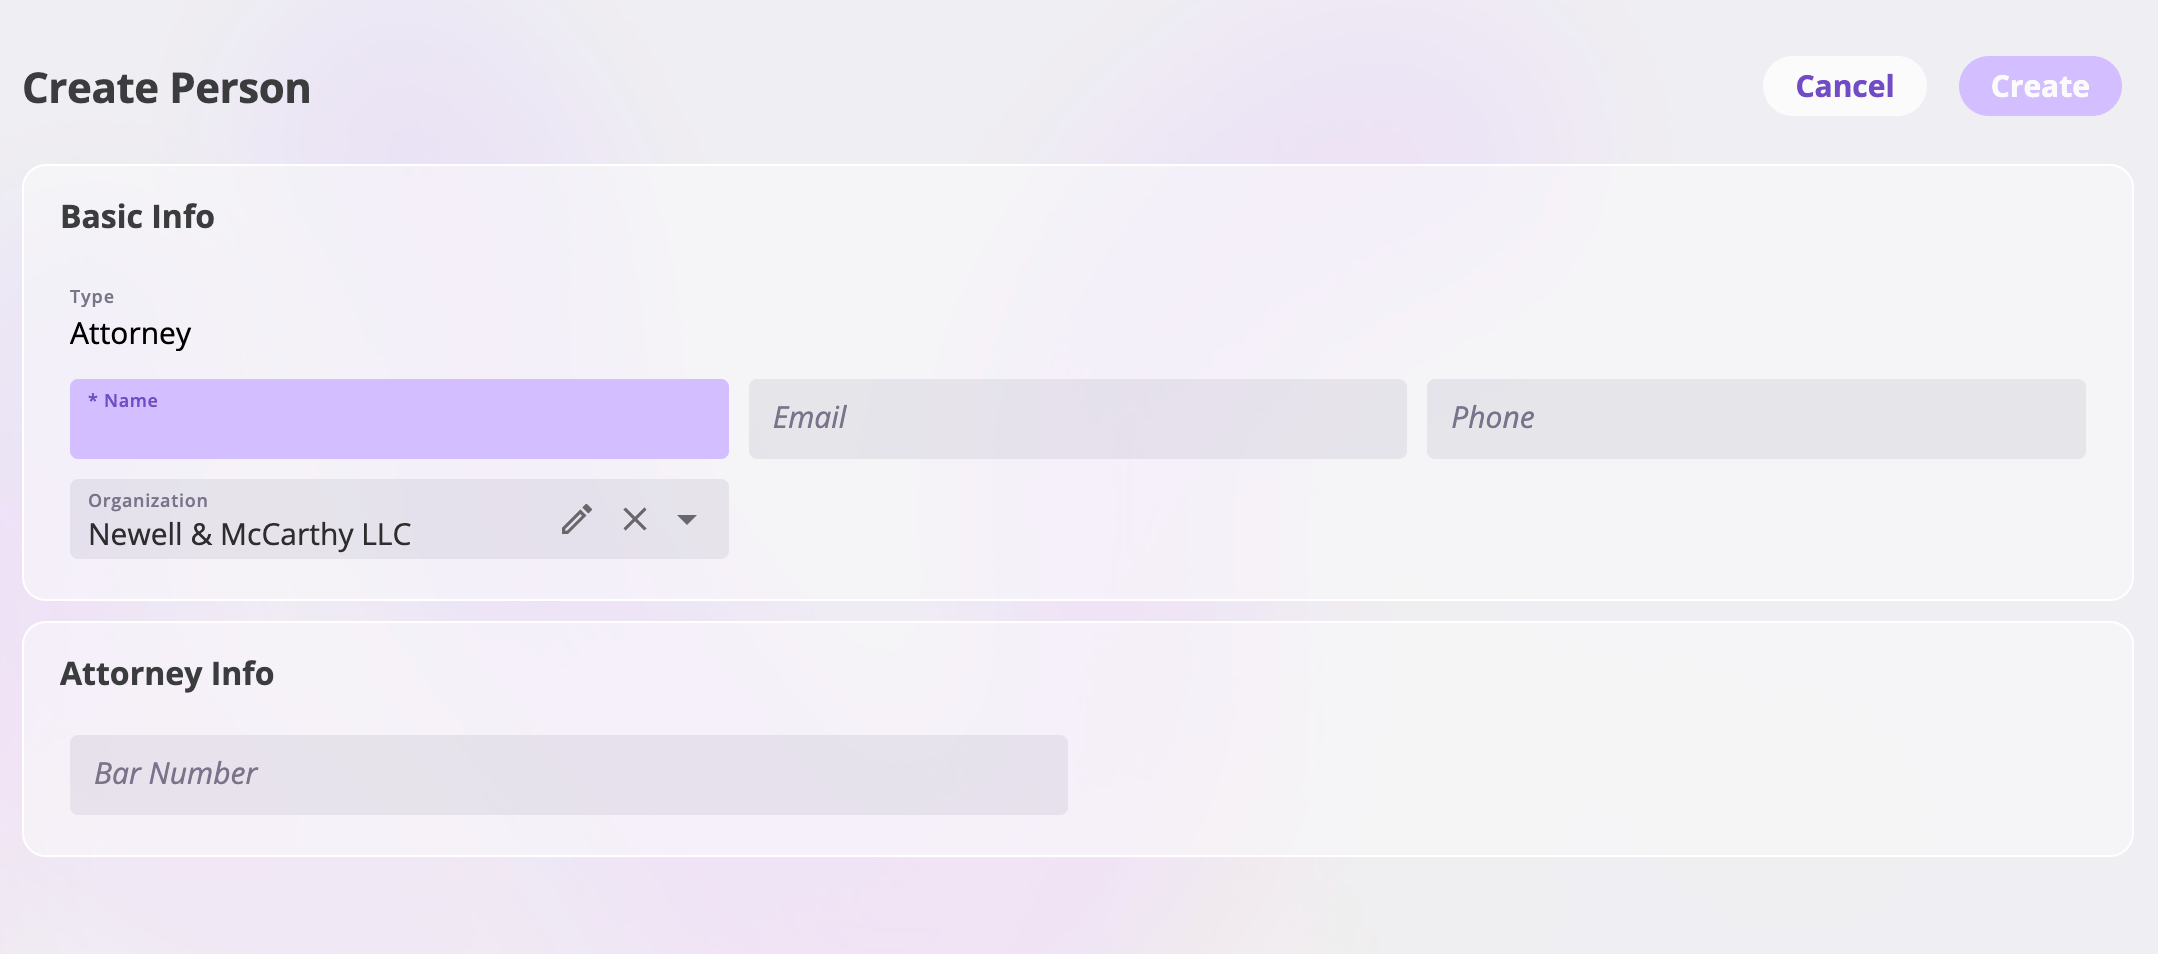
The create page — required fields must be filled before Create enables.
The record detail page
Opening a directory record shows its detail page, with the record’s name in the header and two tabs: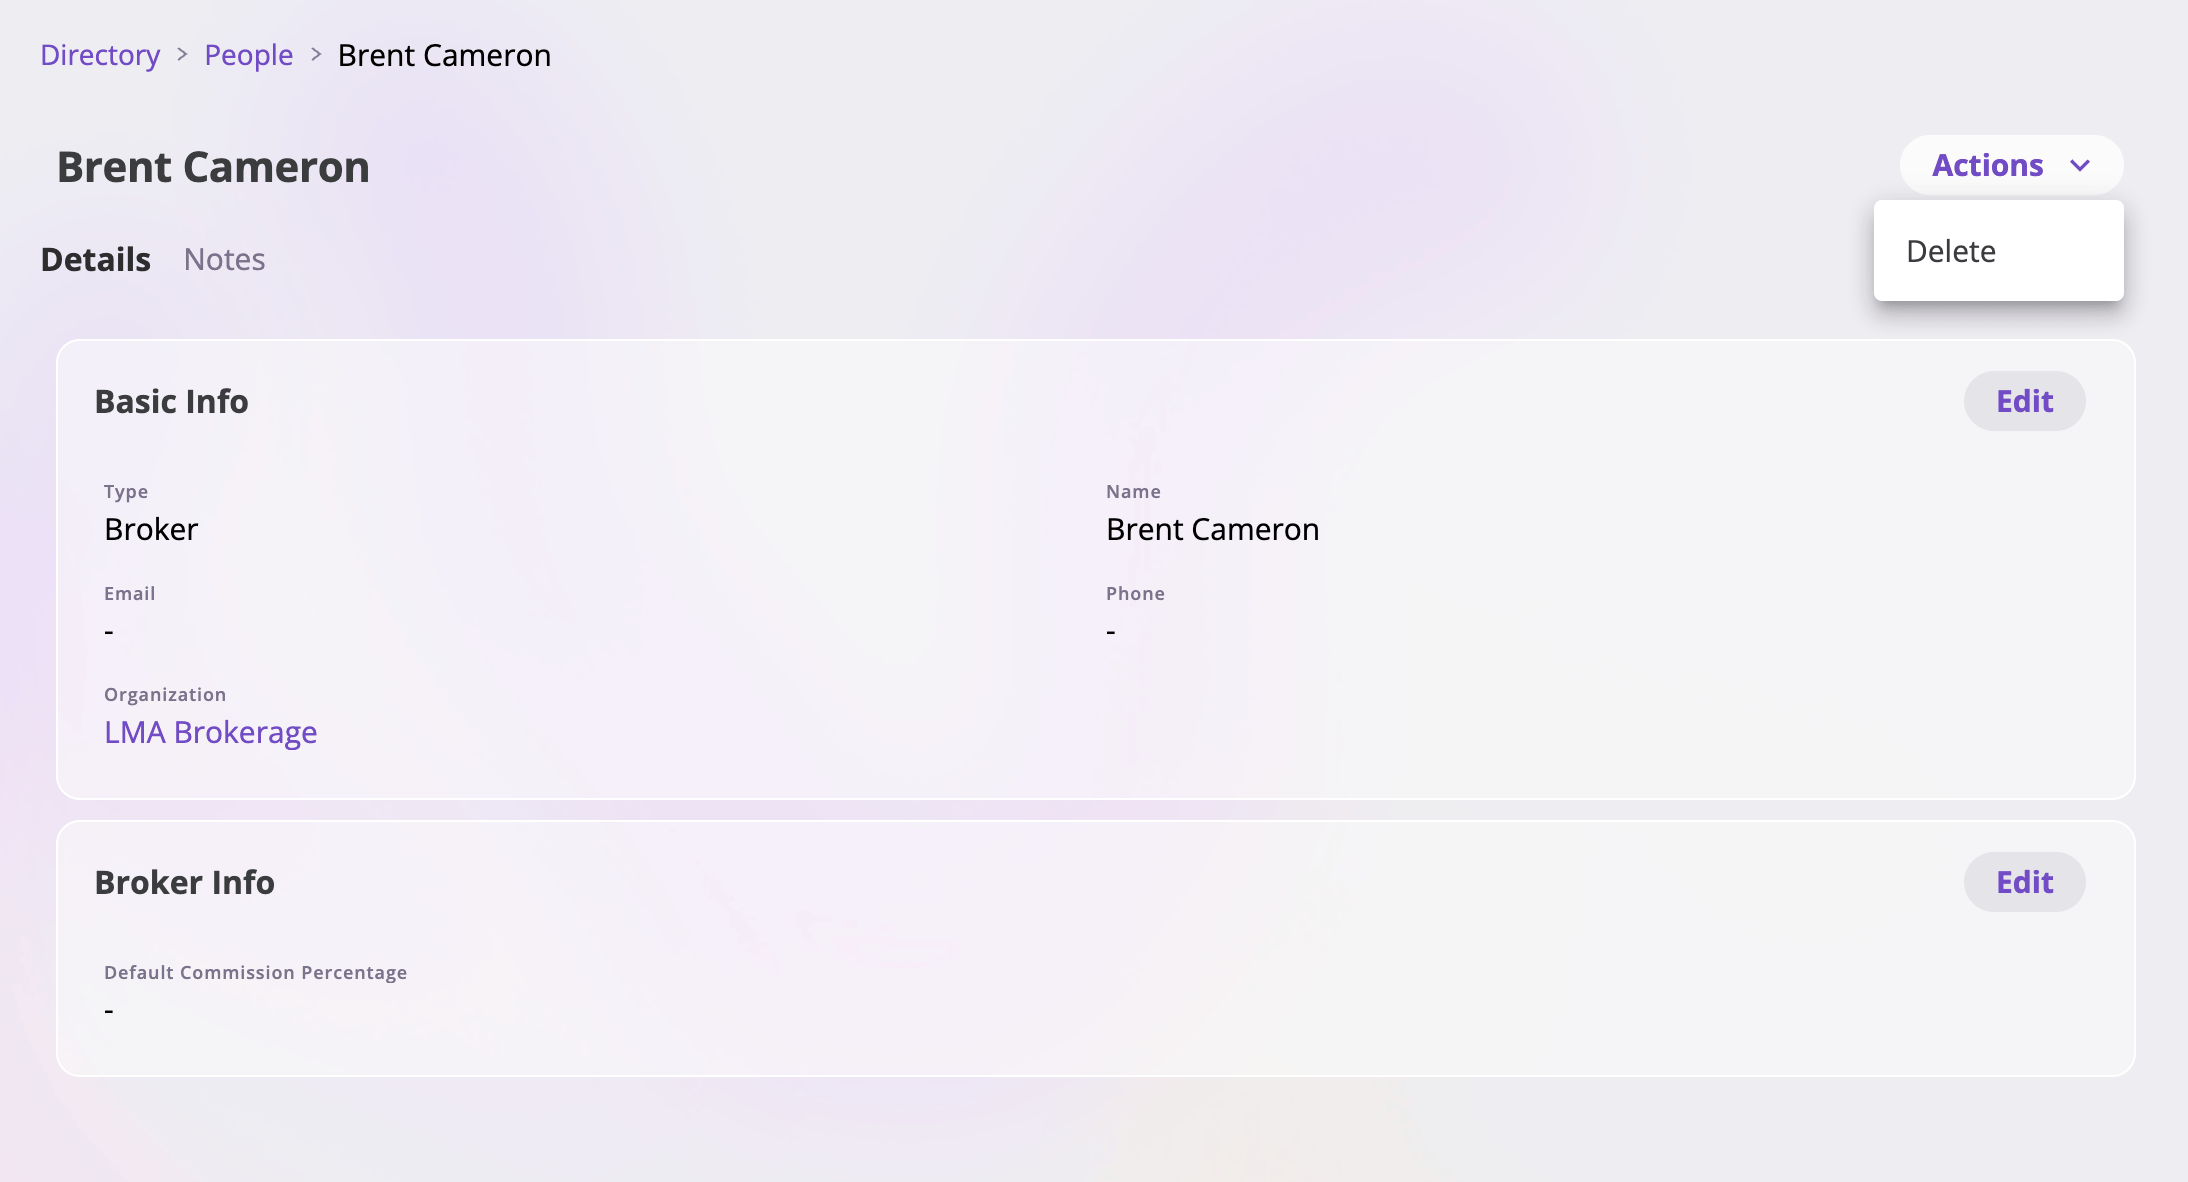
A person's detail page — Details and Notes tabs, editable cards, and the Actions menu.
- Details — the record’s fields, laid out in cards. Edit a card, change what you need, and save — or cancel to discard. Because a contact is just a link to this record, edits here show up everywhere the person or organization is used. Renaming works the same way: edit the name field and save.
- Notes — free-form notes on the record, shown if your role can read notes. Works exactly like the Notes tab on other entities — see Files & notes.
The Contacts tab on other records
Policies, submissions, exposures, and events each have a Contacts tab listing the people linked to that record. It’s a table of people — Name, Type, Email, Phone, Organization by default, with its own Edit Columns button — where the name links to the person’s Directory record and the organization links to the organization’s record.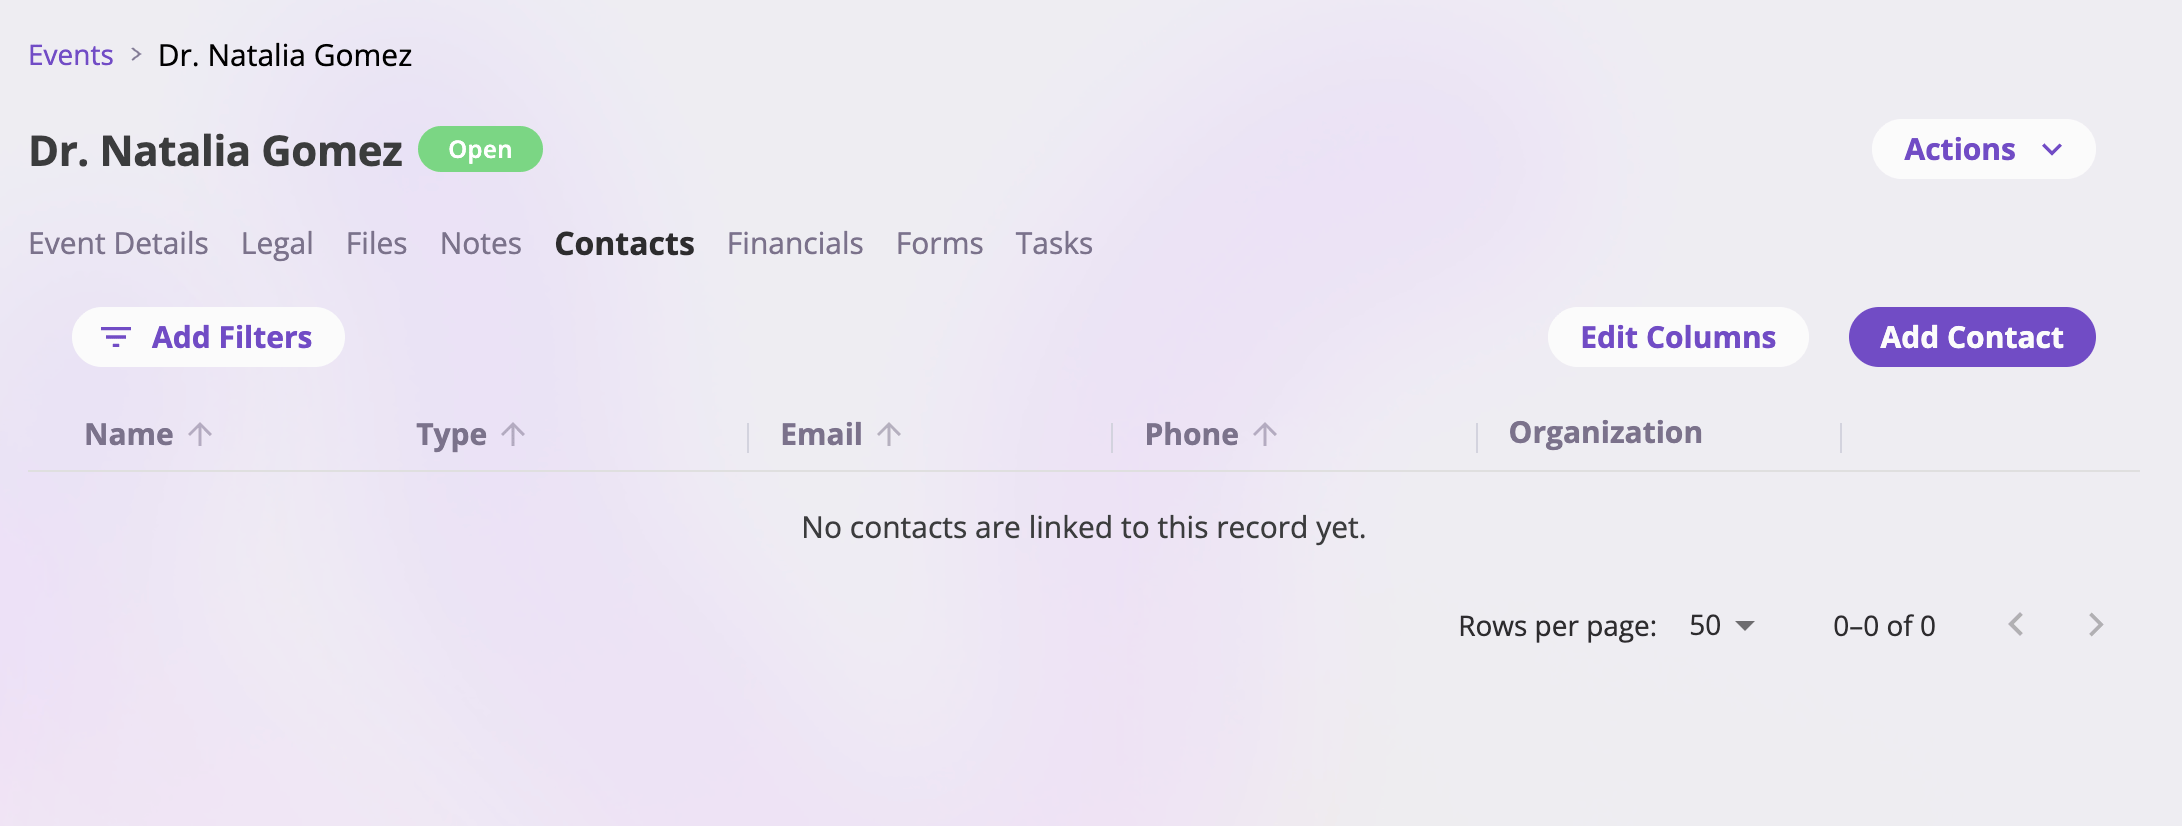
The Contacts tab on an event — linked people, with edit and remove actions on each row.
Adding contacts
Select Add Contact to open the Add Contacts dialog:1
Search the Directory
Start typing in the Contacts field to search your existing people. You
can select several at once — each selection is added as a chip.
2
Or create a new person on the spot
If the person isn’t in the Directory yet, choose Create Contact in the
search results. A create form opens with the name you typed pre-filled; the
new person is saved to the Directory and added to your selection.
3
Confirm
Select Add Contacts to link everyone you picked to the record.
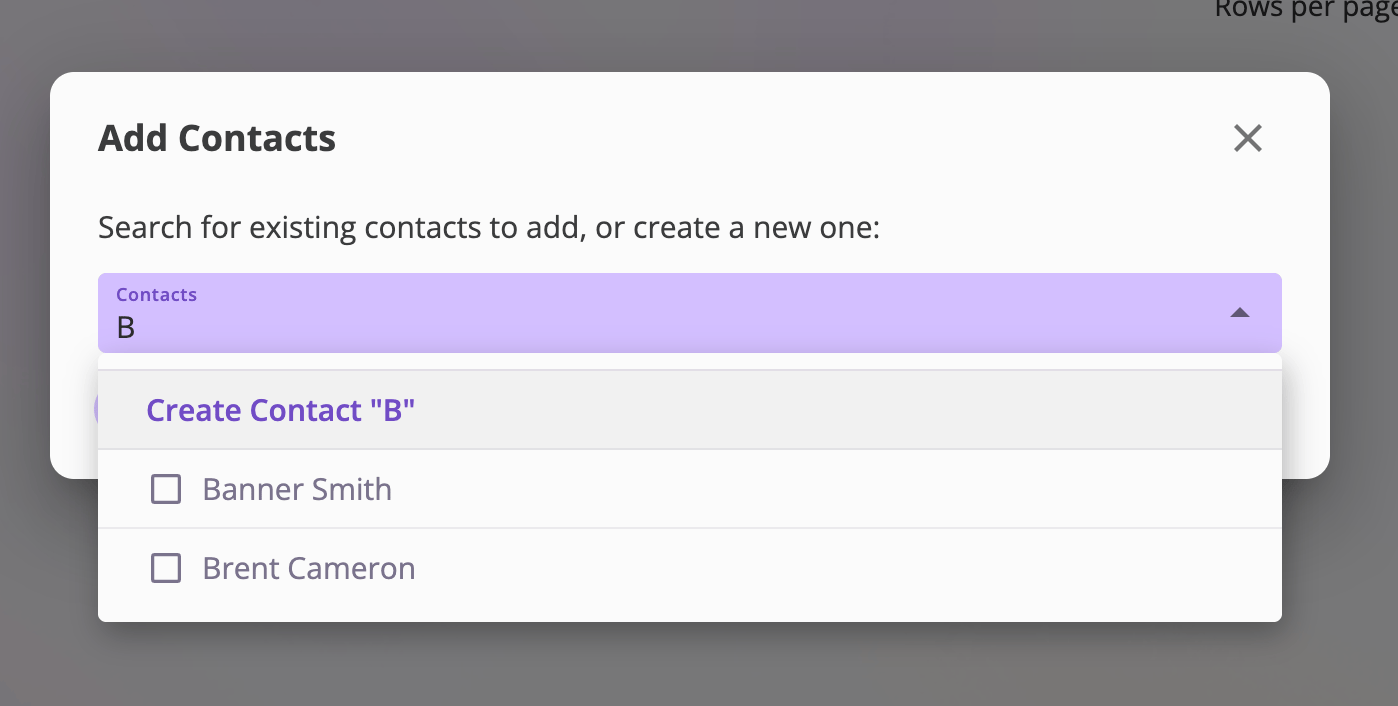
The Add Contacts dialog — search existing people or create a new one inline.